The 12 most important pieces of rock climbing equipment
Rock climbing is one of the most
exhilarating and adventurous sports around. But to make the most of it, you
need the right equipment—and to know how to use it.
We’ve got you covered if you feel the urge to scale a cliff face but don’t know how to do it safely. Here’s our comprehensive checklist of the rock climbing equipment you need.
Climbing ropes
Climbing ropes are the single most
important piece of rock climbing equipment. There are only a couple of
instances in which a climber wouldn’t need them:
when they’re bouldering—typically climbing no more than 15ft, with
a crashmat underneath for safetywhen they’re free soloing, which only a fraction of climbers
worldwide even pursue
Ropes are an essential part of the
sport for every other type of climbing. With proper use of your harness,
carabiners, belay device, quickdraws, and cams, climbing ropes will save your
life if you slip or fall off the rock face.
It isn’t enough to own climbing
ropes, though. You must also know how they function and work with the
associated apparatus. Most indoor bouldering gyms or climbing centres have
dedicated belay systems for rope climbing and offer tutorials so you can get to
grips with them.
Once you become more experienced and
want to buy your own rope, there are several factors you need to consider. For
example:
rope typediameterlengthrope featuressafety ratings
It would be best if you decided upon
the above relative to the route you intend to climb. You should also remember
that too much rope can be an issue, as it can lead to drag on the wall.
You’d be surprised how heavy a rope can feel when you’re exhausted.
Harness
If you’ve bought a suitable climbing
rope, you’ll need an appropriate safety harness to attach it to. There are two
primary considerations here:
how much you want to spendwhat type of climbing you intend to do
Whether you’re into trad, sport,
winter, or indoor climbing, versatility and comfort should be your primary
focus if you want a catch-all harness to serve you in multiple climbing
disciplines.
When purchasing your rock climbing
gear, this is also the approach we recommend—you want to own equipment you use
regularly. You can always hire anything more specific if you need it.
Ideally, your harness should
comfortably work with your clothing to ensure a full range of movement.
Padding, extra-wide webbing, ventilation, and moisture transport are some key
features to look for.
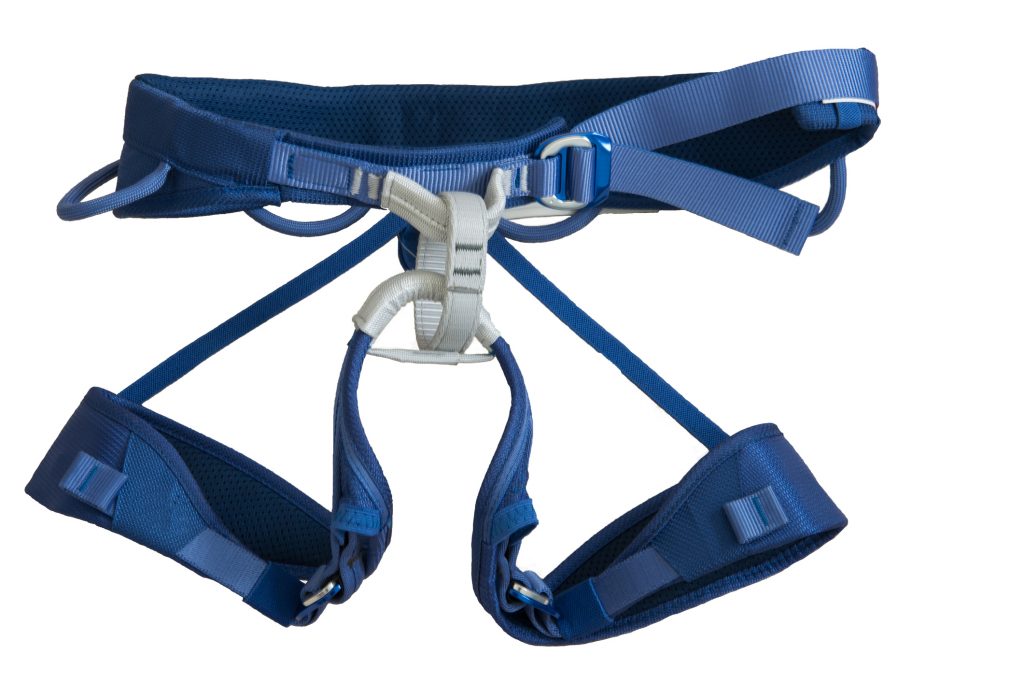
As for a harness’s anatomy, it
contains two front tie-in points where the climber can thread the rope and tie
it in—one at the waist (the belay loop) and one at the leg loops. The waist
belt fastens (yep, you guessed it) around your waist.
Given that a harness is designed to
keep you safe, you need to examine the harness for defects or damage even when
buying one new. The below video can help you identify them:
Not that long ago, more than 100 dangerous harnesses were seized from an eBay seller—showing how important it is to do your research before buying one.
Belay device
If they don’t own one already, a
belay device is one of the first pieces of rock climbing hardware a trad or
sport climber will buy when planning a climb.
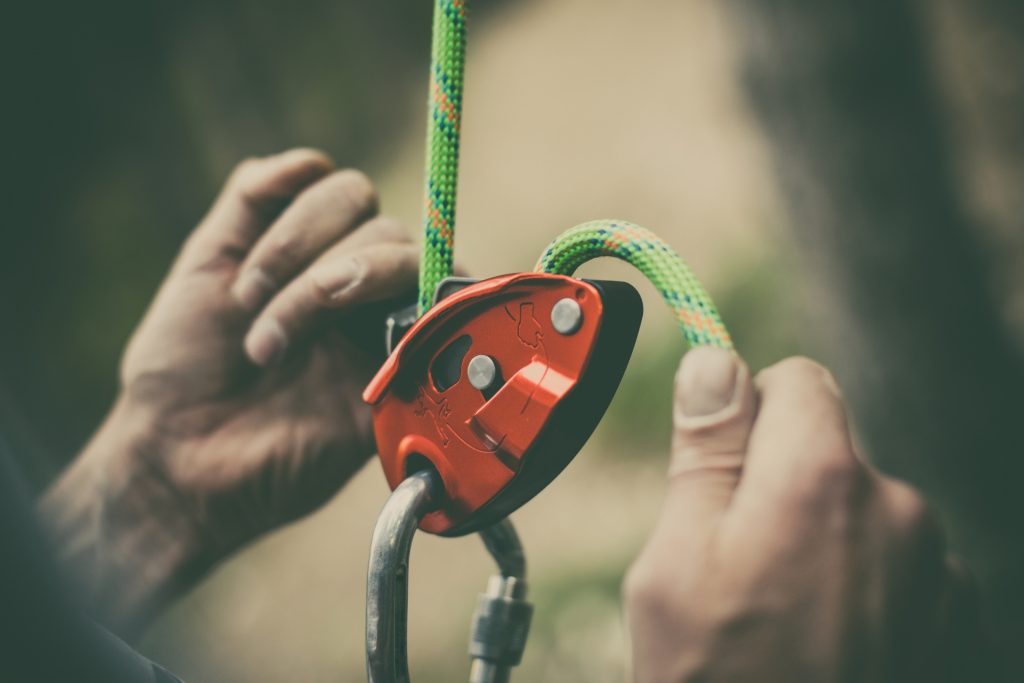
If you haven’t heard of a belay
device before, it’s a mechanical friction brake used to protect climbers from
falls or lower them from an ascent. The belay provides multiple friction
points, meaning the belayer doesn’t have to hold the climber’s full weight as
they descend.
It doesn’t take long to get to grips
with the basic function of a belay. However, we highly recommend practising in
a controlled environment first, particularly with help from a climbing
instructor.
It isn’t so much that the device is
complicated to understand. Rather, the consequences of inattention are grave,
so you’ll want to know it inside and out.
The below video shows you everything
you need to know (but, of course, practise first):
In some cases, like in a climbing
gym, the belay device you’re fastening your rope to might be mechanical. But in
most cases, it’ll be another person.
There are three types of belay
devices to choose from, depending on the climbing you want to do:
tubularassisted-breakingfigure 8
If you want to know more, here’s a guide to all three.
Carabiners
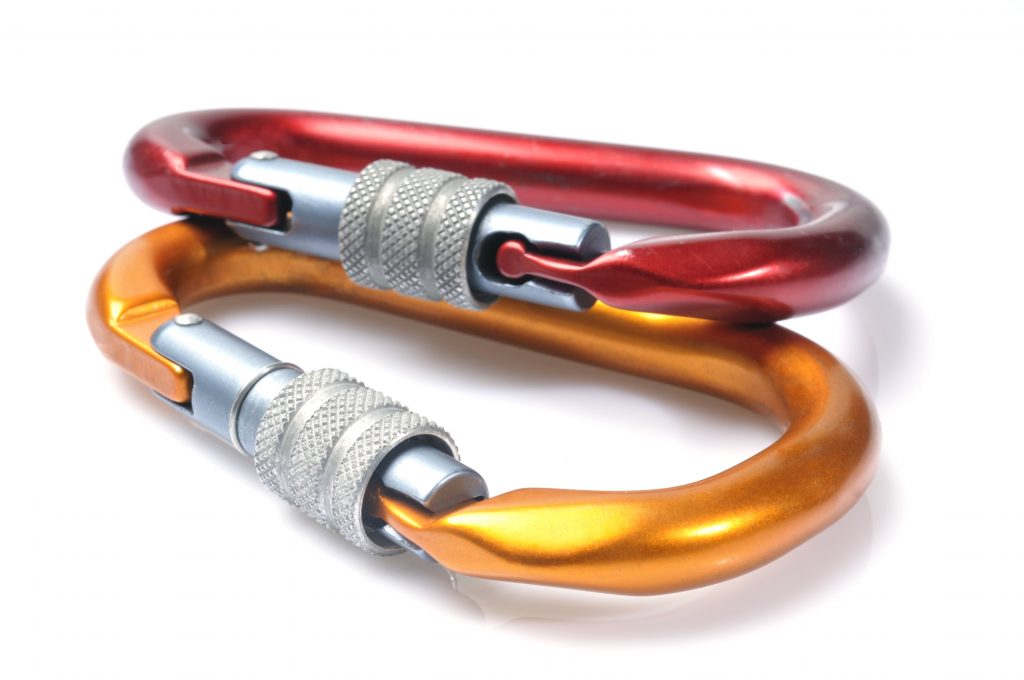
A carabiner is essentially the name
for a ‘climbing clip’. In simple terms, it’s a device to which you can attach
things without fear of them becoming detached.
So, in climbing, they’re used for all
sorts of purposes, such as connecting climbing rope with other pieces of
climbing protection such as nuts, camming devices, and bolts.
They’re usually made from steel
rigorously tested for strength and feature a gate to allow your rope or
equipment to pass through. This gate then shuts to prevent the equipment from
slipping out of the carabiner.
Carabiners, ropes, and your harness
are usually the crucial pieces of rock climbing equipment that stand between
safety and serious injury, if not worse.
For this reason, you should invest in
carabiners with long-standing reputations for quality and strength, such as
those made by Petzl, Black Diamond, or the Tommy Caldwell
endorsed Eldelrid.
There are several carabiners,
including:
the wire carabinerthe straight gate carabiner the locking carabiner
There are other types, but they
largely fall between those three, with minor variations. This video will help
you identify which type of carabiner is best-suited for you:
Quickdraws
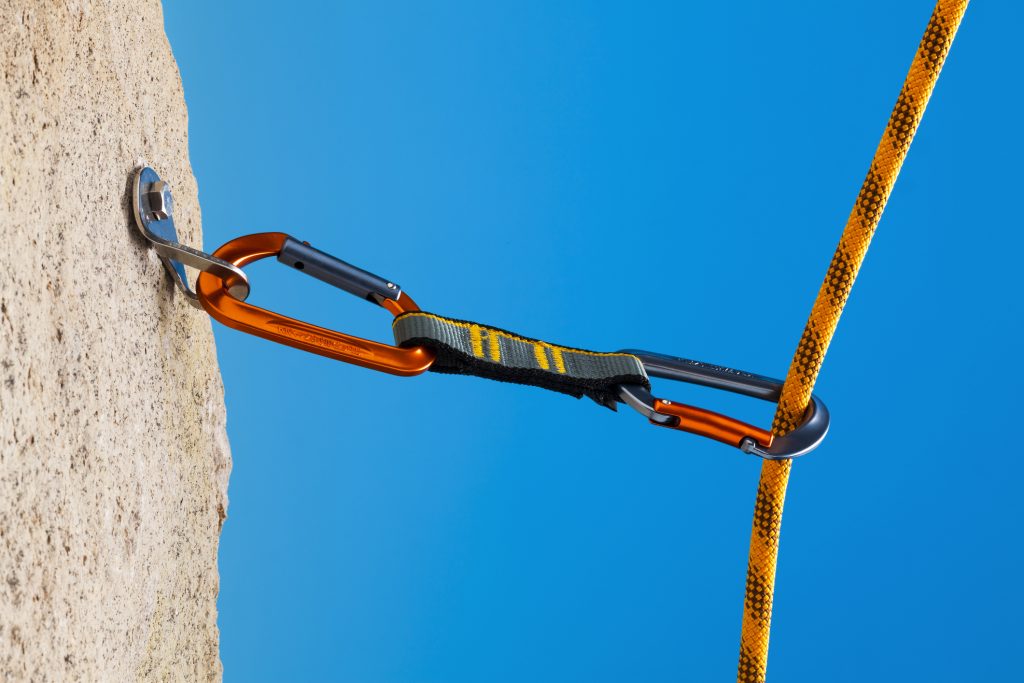
We did say carabiners are used for
all sorts of things in rock climbing—one of these is the quickdraw. It’s made
from two carabiners connected by a textile sling.
The idea is to attach one end of the
quickdraw carabiner to a bolt hanger on a route and your rope to the other.
This gives you some slack on the rope by allowing the rope to move around while
remaining attached to the bolt hanger.
As with other forms of rock climbing
equipment, though, the purpose of a quickdraw varies depending on the climbing
you’re doing. Once again, YouTube is your friend for this one—the below clip
will help you pick the right quickdraw for your climb.
Climbing cams
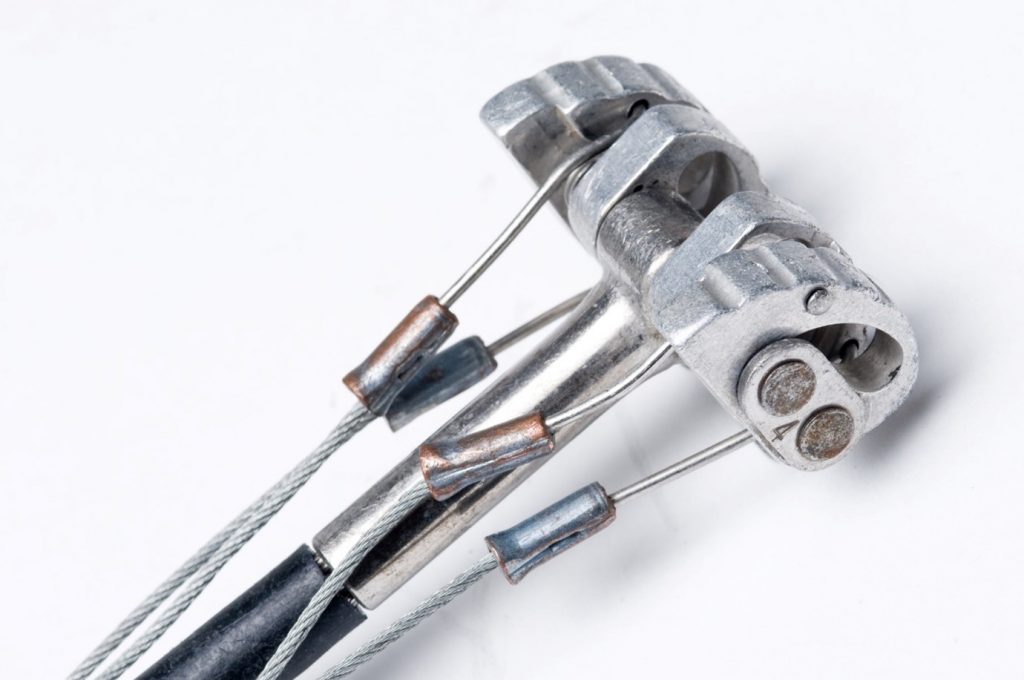
Climbing cams—or spring-loaded
camming devices (SLCDs)—fit into cracks and gaps in rocks where they’ll grip to
provide protection.
Cams are particularly useful in trad
climbing where a nut or bolt won’t work. With that in mind, cams offer a little
more flexibility in the route you can take up a rock face, and they’re
commonplace in every outdoor rock climber’s arsenal of tools.
The basic mechanism of a cam is that
the harder you pull on it, the farther it spreads apart, thereby gripping the
walls of the crack you’ve placed it in. It’s more of an advanced piece of rock
climbing gear but essential nonetheless.
Another advantage of a cam is that
it’s a non-invasive form of climbing protection—it doesn’t damage the rock when
used, like bolting or pitons.
Incidentally, this philosophy of conservation and ethical climbing is held by climbing pioneer and Yosemite big wall legend Yvon Chouinard who founded the outdoors clothing company Patagonia, amongst other achievements.
Climbing helmet
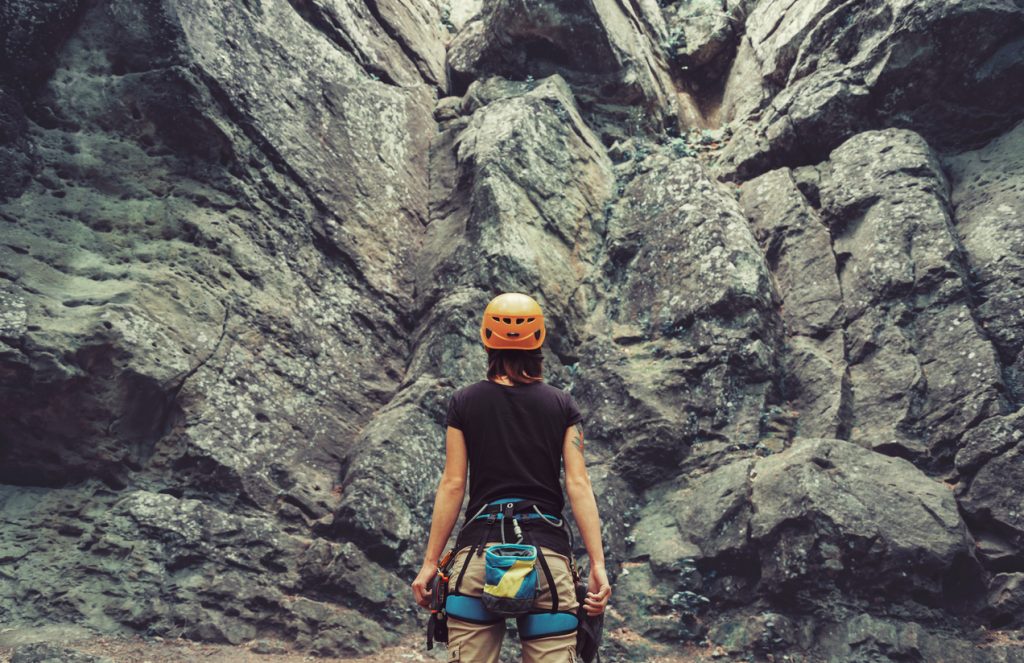
Unfortunately, rock faces and
mountains occasionally have a habit of spontaneously fracturing, sending
stones, rocks, and sometimes boulders tumbling down below.
This is a hazard for any climber,
which is why the helmet is another key piece of rock climbing equipment.
You’ll most commonly need a helmet
for mountaineering, trad climbing, and sport climbing, as they typically take
place in wild mountains or well-worn routes.
The untouched aspect of wild
mountains makes the rock unpredictable, while the well-worn routes of trad and
sport climbing can sometimes mean the wall has weakened.
Some (though not all) climbing
helmets are also designed to protect in the event of a fall.
However, if you’re climbing at a
bouldering gym, you generally won’t need one. That’s because (as we mentioned
above) they often have thick crash mat floors, and the walls are typically no
higher than 15ft.
Ideally, your helmet should fit snugly and sit flat on your head but not feel too tight. You should also ensure the helmet does not obstruct your line of sight up the wall.
Climbing shoes
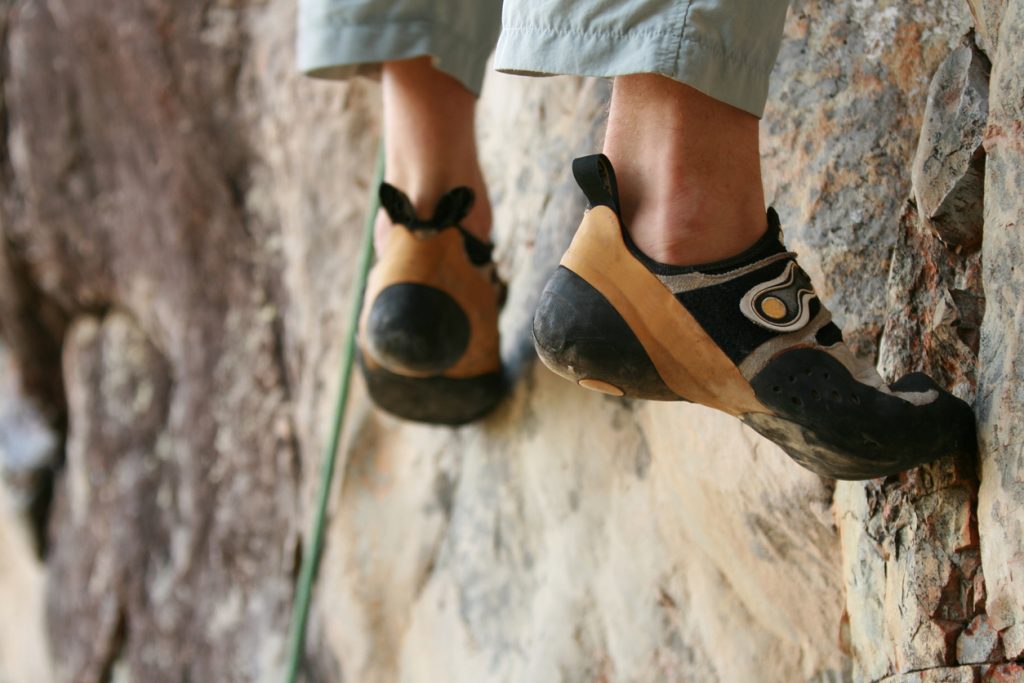
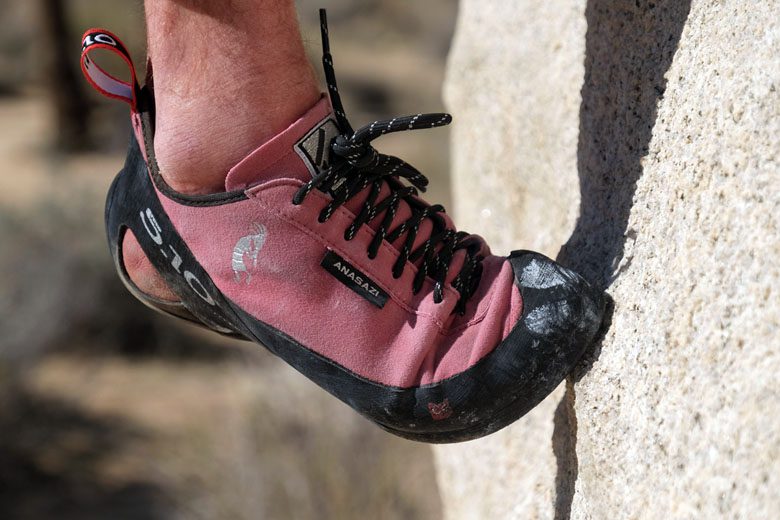
Stepping foot on a wall without
climbing shoes is unheard of. They are as closely related to climbing as the
racket is to tennis. In short, there is no rock climbing without them.
Climbing shoes are characterised by
their tight fit, thin material, rubber sole and outer edges.
These design features all come
together to give your foot the best grip on the wall to allow you to stand on
holds you otherwise wouldn’t be able to in normal shoes or barefoot.
Buying climbing shoes isn’t simply a
case of buying the best shoe on the market.
For one, it’s mostly about subjective
preference, and the ‘best’ shoes are often unwearable for a beginner. For this
reason, climbing shoes are most often categorised by skill level, closely
related to the degree to which the climbing shoe is downturned.
Beginner shoes are relatively flat,
with intermediate shoes slightly arched and advanced or ‘aggressive’ shoes
arched further still. Advanced climbing shoes are so uncomfortable for general
use that it’s common to see climbers taking their shoes off as soon as they’re
off the wall.
Advanced climbing shoes are
purposefully designed for vertical climbing, so the climber can transfer power
through their foot to make better use of small holds.
Achieving this ability takes immense
foot strengthening through years of climbing, hence why advanced shoes would be
unwearable for a beginner.
When weighing up a pair of climbing
shoes, it’s important to try them on and test them out—more than with any other
type of shoe. It would help if you ensured the shoe was suitable for your foot
shape.
You should also bear in mind that
traditional sizing is most likely redundant when choosing a climbing shoe, as
you’ll probably be looking for something at least a size smaller than your
usual trainers.
Many bouldering gyms have integrated climbing equipment shops, and test holds so that you can try on the shoe and try it out.
If you’re climbing at an advanced level, indoor vs outdoor use might be worth considering. In most instances, beginner and intermediate shoes are suitable in both environments.
Chalk bag
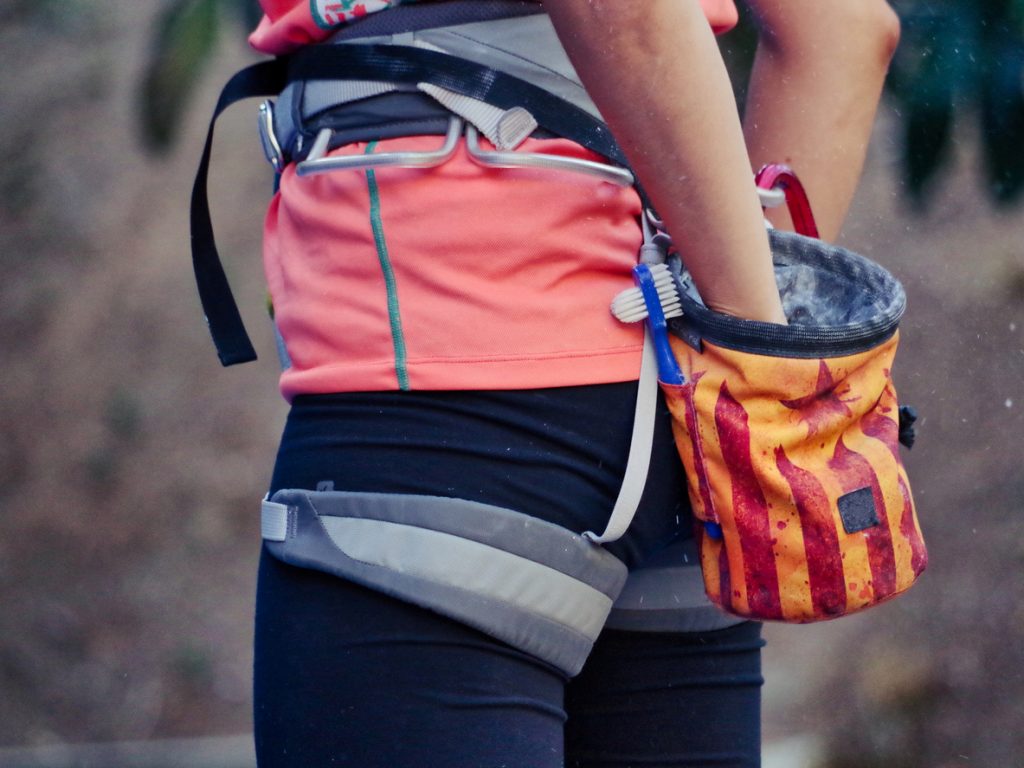
Chalk bags are a pretty
straightforward bit of kit. They’re typically a small canvas or synthetic bag
designed with an opening to comfortably fit your whole hand, though some are
large enough to fit both.
They also come with a side-release
buckle and a loop of fabric so that you can attach them to your harness or
pants.
There are endless options on the
market, all roughly as good as each other, given the simple design. Plus, chalk
bags are one of the few pieces of rock climbing equipment that allow you to
flex a bit of your personality.
So, whether it’s a naturalistic Aztec patterned number or a furry monster face, there’s something for everyone.
Make sure whatever bag you get is wide enough to fit your hand, suitable for the type of chalk you’re using and tailored to the length of your climb. A cylindrical bag is ideal for longer climbs, whereas a tapered bag is best suited to shorter routes.
Chalk
Now you have the chalk bag, you’re
going to need some chalk.
As with climbing shoes, it’s
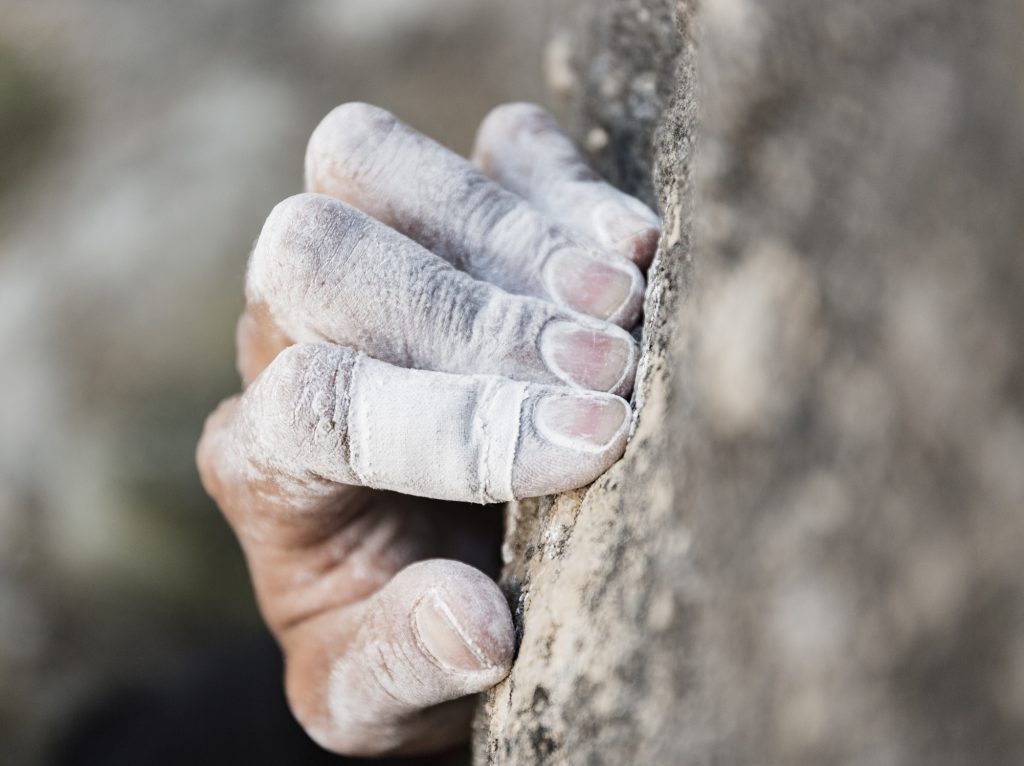
unthinkable for rock climbers to climb without chalk. As with the chalk powerlifters and gymnasts use, chalk is used
in climbing to increase grip and friction on the surface of your hand by drying
sweat and other moisture.
It’s not hard to see why the
increased grip is vital when scaling cliff faces using only your hands and
feet.
If you’re starting out, any climbing
chalk will do the job. That said, you should look for smaller-grained chalk if
possible, as it’s sometimes a hassle to break up the clumpier stuff.
You might also want to buy a chalk
ball, which is a sealed bag of chalk made of thin fabric.
Many climbers find them less messy
than loose chalk, plus they more economically apply chalk to your hands, which
means you’ll cause less chalk build-up on the holds, which other climbers will
appreciate.
If you’re not a fan of chalk or you’re allergic or prone to dry hands, there are alternatives such as liquid chalk you could use instead. However, this might be more suited to bouldering because if you’re halfway up a route, liquid chalk isn’t half as easy to apply as loose chalk.
Climbing tape
Flappers are the bane of a rock
climber’s existence. These are the tears on the pads on your fingers that form
when your hands slip off a hold, and they’re so named because of the tiny flap
of skin they leave behind.
They can also occur as your skin is
gradually abraded over a day’s climbing.
That’s why climbers always keep a
roll of climbing tape handy. Some apply it pre-emptively, while others only
apply it after flappers occur. Many climbing tapes contain zinc-oxide to help
heal the abrasions and decrease the chances of infection, too.
Over time, the pads on your fingers
and palms should develop callouses, and you won’t be so prone to flappers. But until
then, there’s climbing tape.
Flappers aren’t the only use for
climbing tape; many climbers also tape up their fingers to strengthen them and
support the small tendons and muscles within the fingers. This video shows how
it works:
Crash mat

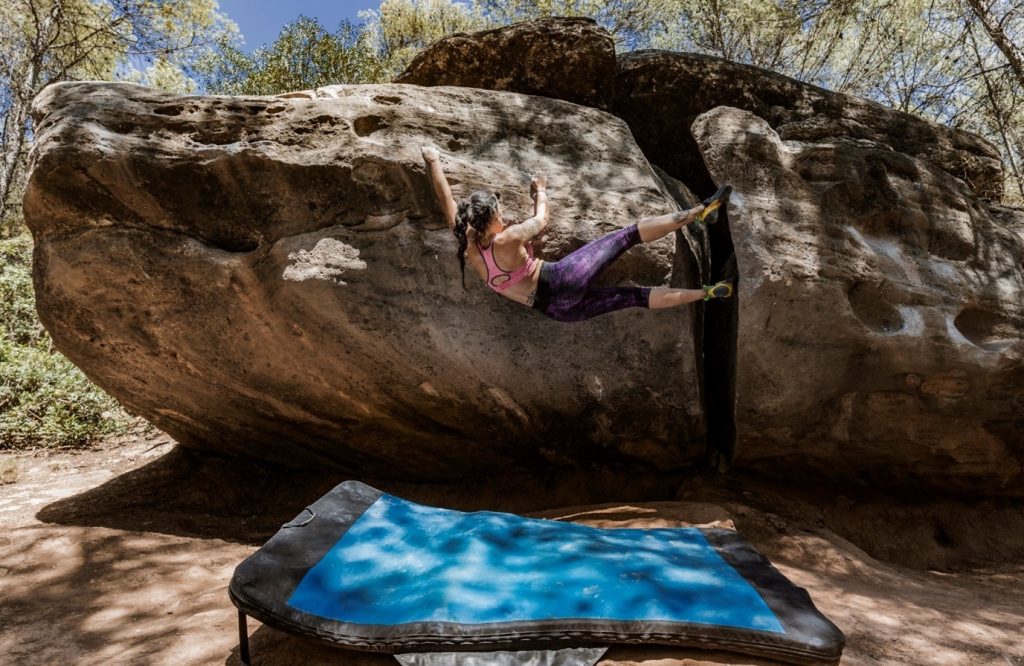
Though a crash mat isn’t required for
most types of climbing, it makes the cut for the most important rock climbing
gear because bouldering is one of the more dominant forms of climbing. A crash
mat is essential if you plan on outdoor bouldering.
Because bouldering is practised
without ropes due to the smaller heights involved in the climbs, a crash mat is
the only thing between you and the hard floor below. Fifteen feet can still do
some damage if you fall from that height.
Ideally, you’ll also want some
friends on hand to spot you while you climb, or even multiple mats. As with
most rock climbing equipment, you need to look at the bouldering you intend to
do when weighing up what type of crash mat to buy.
Here’s a helpful video that explains
more:
Whether you’re sending pitches on
trad and sport routes or bouldering outdoors, climbing always comes with a risk
of injury. Further still, your rock climbing equipment could be damaged, lost,
or stolen.
That’s why you might want to consider
specialist rock climbing insurance.
This cover will ensure you’re not
left out of pocket for your equipment or an injury and covers a range of
scenarios.
Find out more here or get an instant online quote today and see what we can do for you.
Related
The 5 most common rock climbing injuries and how to avoid them
7 benefits of rock climbing
9 amazing outdoor rock climbing locations in the UK


