Save thousands on hotel costs when working with these 13 easy steps
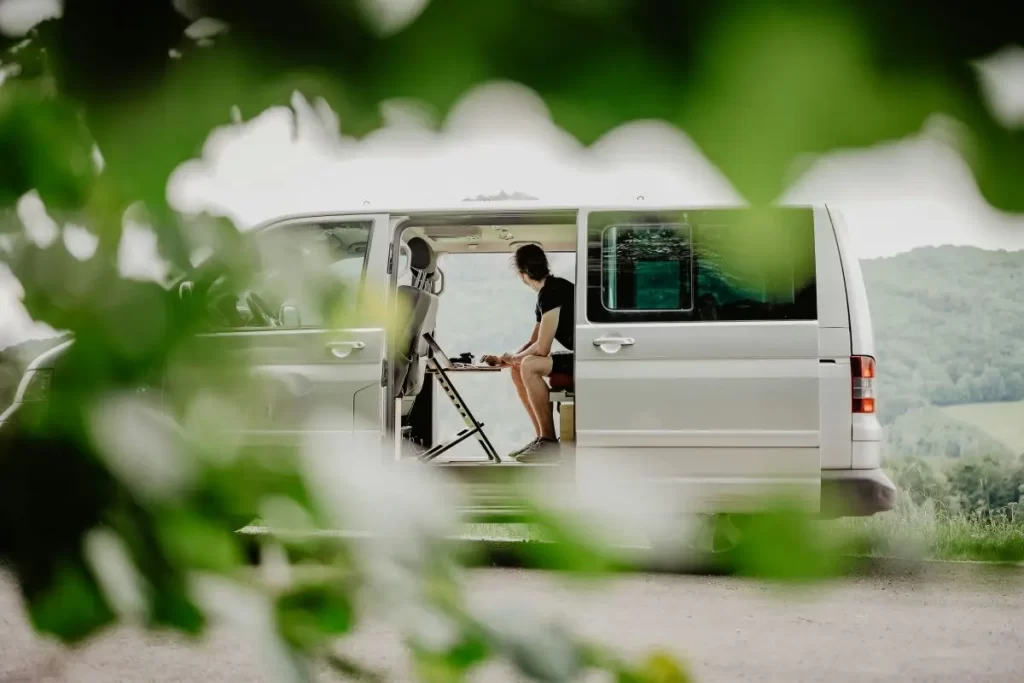
If you’re a sole trader and you travel for work, hotel costs, meals away, transportation, and beverages can quickly add up. Thankfully there is a solution – one that could save you thousands: convert your work van so it can be slept in while you’re away.
Amateurs and experienced DIYers alike have been able to convert their van on a budget, so, with the right time, patience and willingness to learn, we’re confident you can do the majority of work yourself using the steps outlined below.
1. Set a budget for the process
Your budget will dictate what you can do with your vehicle. Van conversions can cost anywhere from £900 for a simple set-up, all the way up to £30,000 if you want something really high-spec. If you’re converting a small van, this can usually be completed for under £5,000.
As with a lot of household conversion projects, it’s easy to let your budget get away from you, so make sure that you plan the project as much as possible to help you stick to your budget.
2. Plan out your van conversion

There are many different ways of converting your van; from simply adding a mattress in the back of your van and calling it a day to something as complex as adding a functional bathroom and kitchen.
You might have the confidence to complete the conversion yourself, or you might want to consult an expert who can complete the work for you.
There are dozens of ways you can go about this, so it’s important that you plan out the space as best you can. A good way to start this process is to consider the non-negotiables you want to add. This could include a food-prep area, a space to sleep, a toilet and shower room, power to work on your laptop, and a storage area for your work documents and equipment.
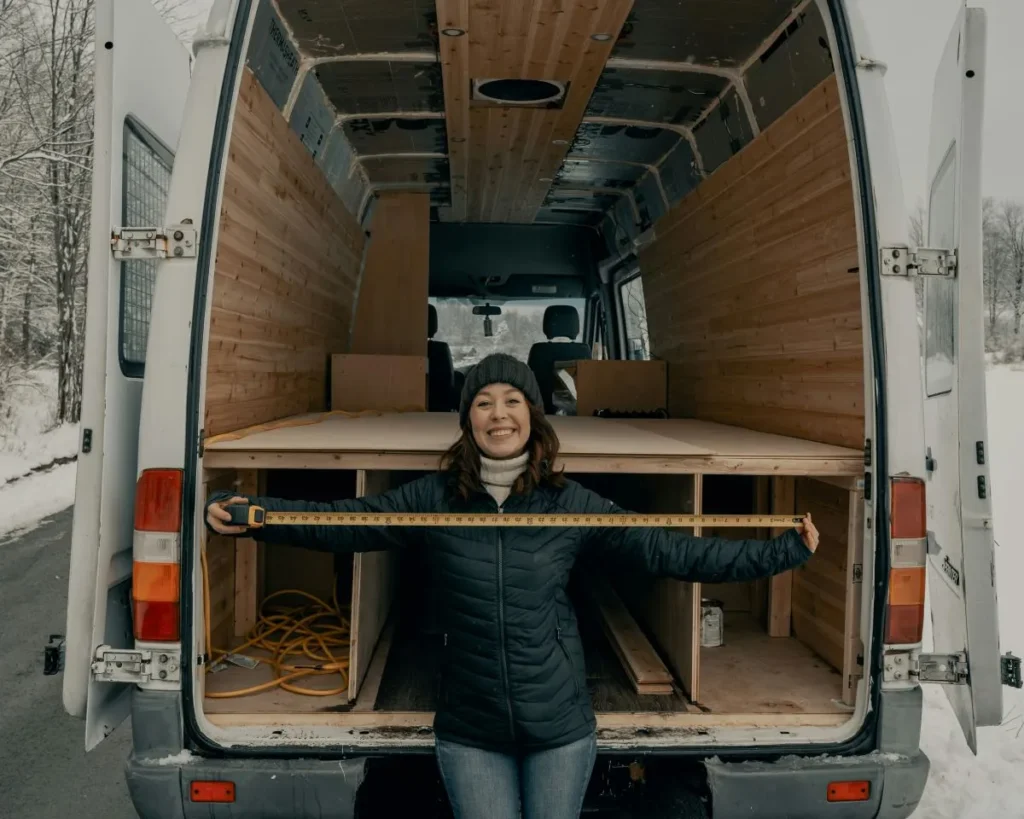
Once you’ve considered the non-negotiables, plan out where you’d like to place these to make a comfortable yet practical space. It’s a good idea to take a look at van conversion examples for inspiration – there are plenty of examples of this on YouTube.
3. Take out insurance before you start
Some risks are still involved with owning a vehicle even if it isn’t being driven on public roads. This can include damage caused by fire, theft or floods. We offer build up SORN cover while you’re undertaking the van conversion to help with this.
4. Strip and clean your van completely
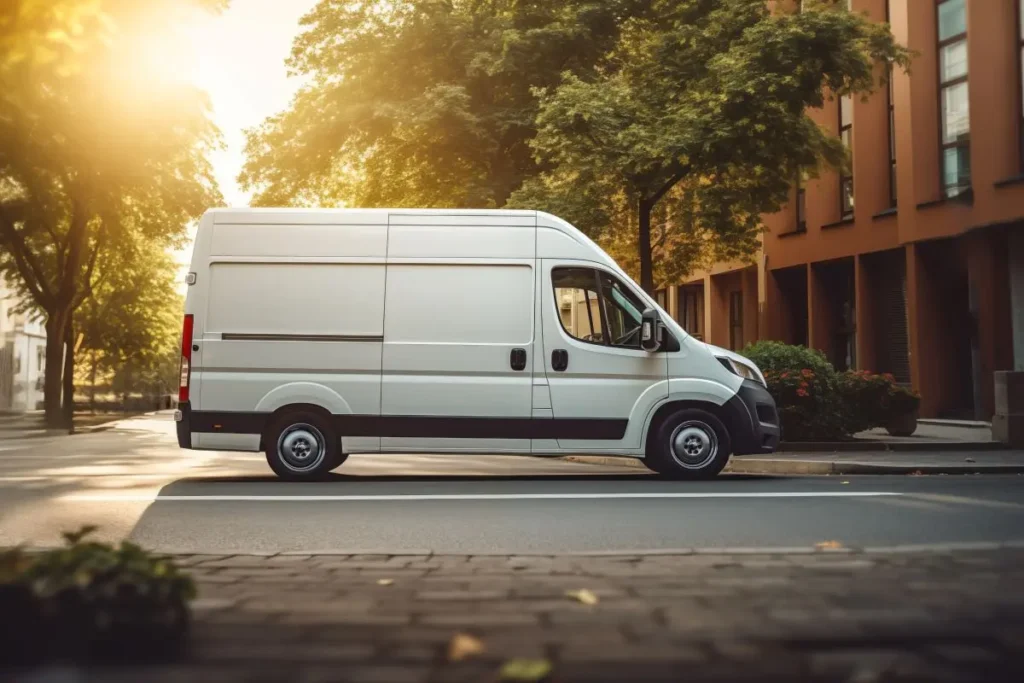
The first step is to remove everything from your van and strip any of the interior that’s already there. Now’s a good time to clean the inside of the vehicle and repair any damage if you’ve owned it for a while.
Watch out for any rust spots that have built up in the van as these can cause issues further down the road; if you find any, it’s best to treat them before you continue.
5. Add windows and ventilation to your van

Most standard vans don’t come with windows at the back. This is usually fine if you’re only using your vehicle to transport equipment, but if you’re planning on cooking or sleeping in your newly converted camper, it’s usually best to add windows and other forms of ventilation to prevent moisture from building up in the van as this could cause mould or rust. It’s also pleasant to have some natural light coming through.
Cut holes in your van where you’d like to place the windows. It’s a good idea to have bought the windows you’ll be installing close to hand before you cut the holes as this will help prevent moisture from getting into the vehicle.
It’s crucial that you don’t make a mistake here as cutting the holes incorrectly will be costly. Before you start cutting, use the windows to trace an outline so you know precisely where to cut.
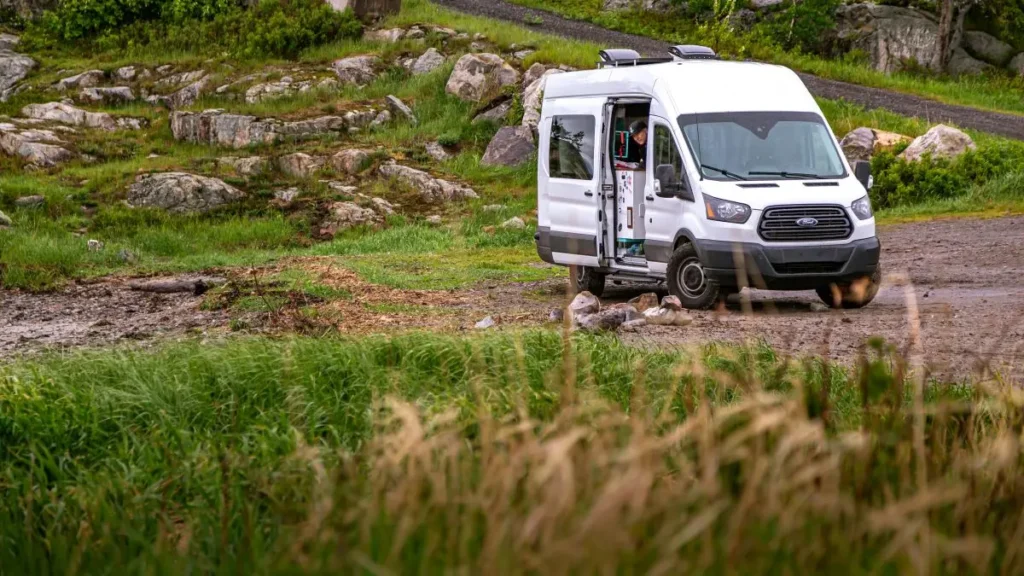
Ventilation will help prevent your van from getting stuffy when you use it to sleep, plus it’ll remove condensation when you’re cooking or taking a shower. A roof vent is ideal for this – given that heat rises, the higher the vent the better. MaxxFan vents tend to be a popular choice as some of their popular models include:
an opening roof vent to let fresh air into the living area
a fan to draw cooler air into the vehicle
a heater to help keep you warm
a rain cover that will protect the vehicle even in wet weather
a flyscreen to prevent bugs from coming in
6. Add insulation and heating to your van
Although keeping your van cool is important, it’s vital that you add insulation and a heat source to the van as they tend to get cold at night.
A layer of sound-deadening insulation can also help prevent outside noise from getting in. This should go on first as it usually has a simple peel-and-stick application.
After that, you can add insulation to any holes in the van, as well as to the panels. One of the most common materials to use for this is insulation made from recycled plastic. You can get self-adhesive insulation or spray adhesive to make the job easier.
If you’ve decided to install a ventilation system that comes with heating, you might not need a separate heater for your van. If not, you have several options available, including diesel, petrol, gas or electric heaters, or wood-burning stoves.
7. Install gas and electricity
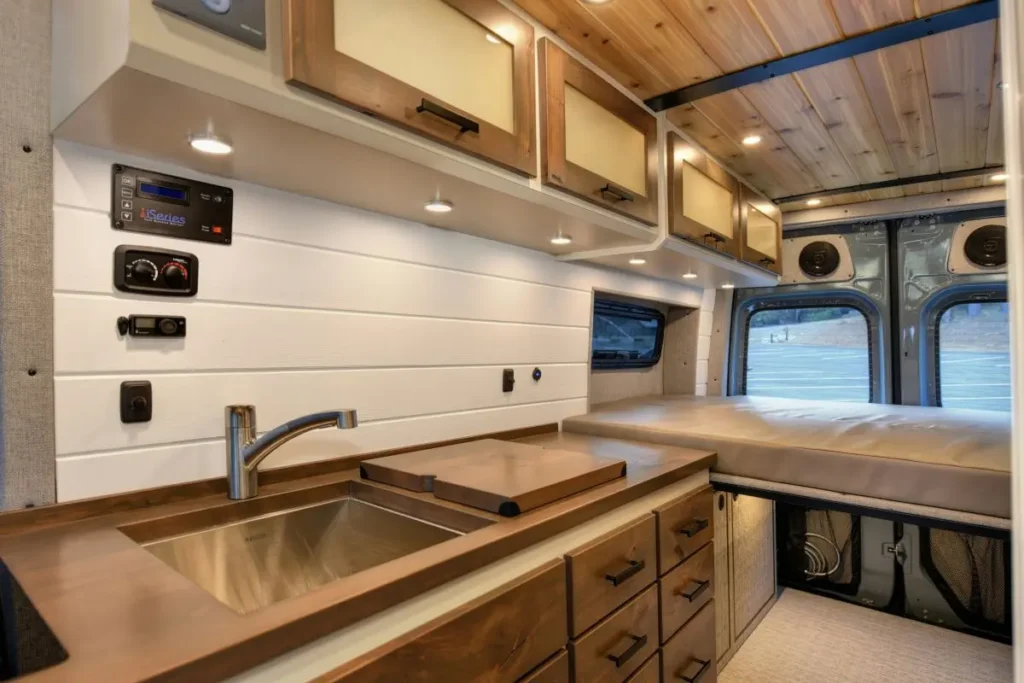
Planning on cooking in your campervan? If so, you’ll need to install electricity and gas.
If you have experience as an electrician, this should be pretty easy to set up, but if you don’t, we’d recommend that you hire an expert. It’s important that you get this step right – not doing so can be dangerous.
8. Install a kitchen area
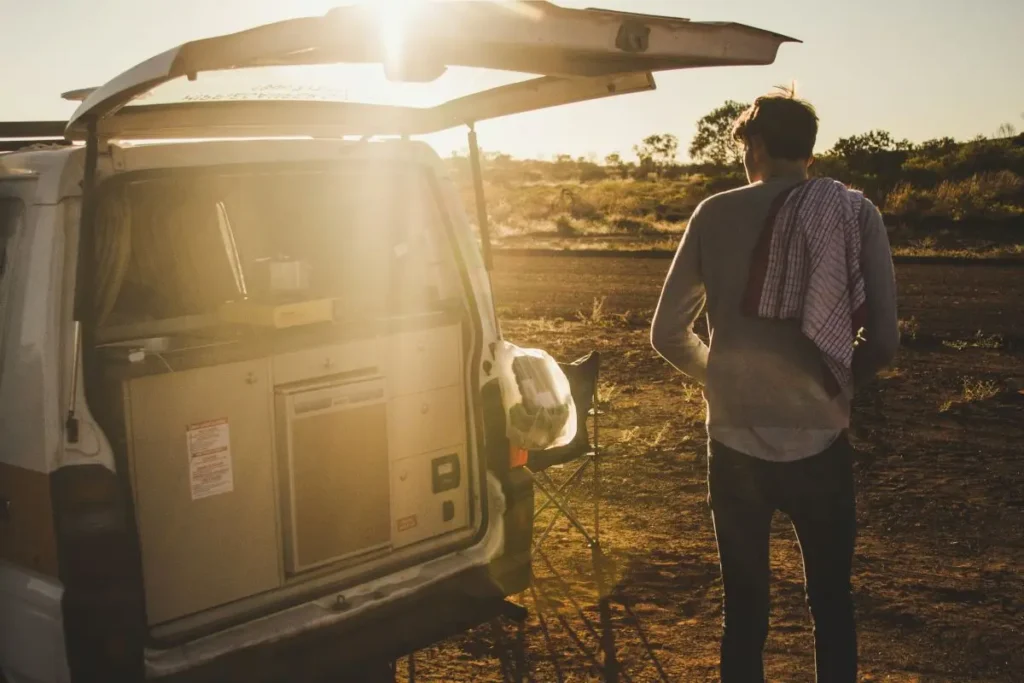
Once you’ve got your gas and electricity connected, setting up your kitchen should be fairly easy. You can purchase a whole kitchen unit specific to your vehicle model if you’ve chosen a popular van to convert, or if you’d prefer a custom-made kitchen, you can buy everything separately.
For this step, consider whether you’d want a mini fridge or if you’re happy with a cooler, and think about whether you want a stove and sink or if you’re happy with something a little more bare bones. If you’re a foodie, you can even kit out your van with an oven and a compact microwave.
9. Install a plumbing and water system
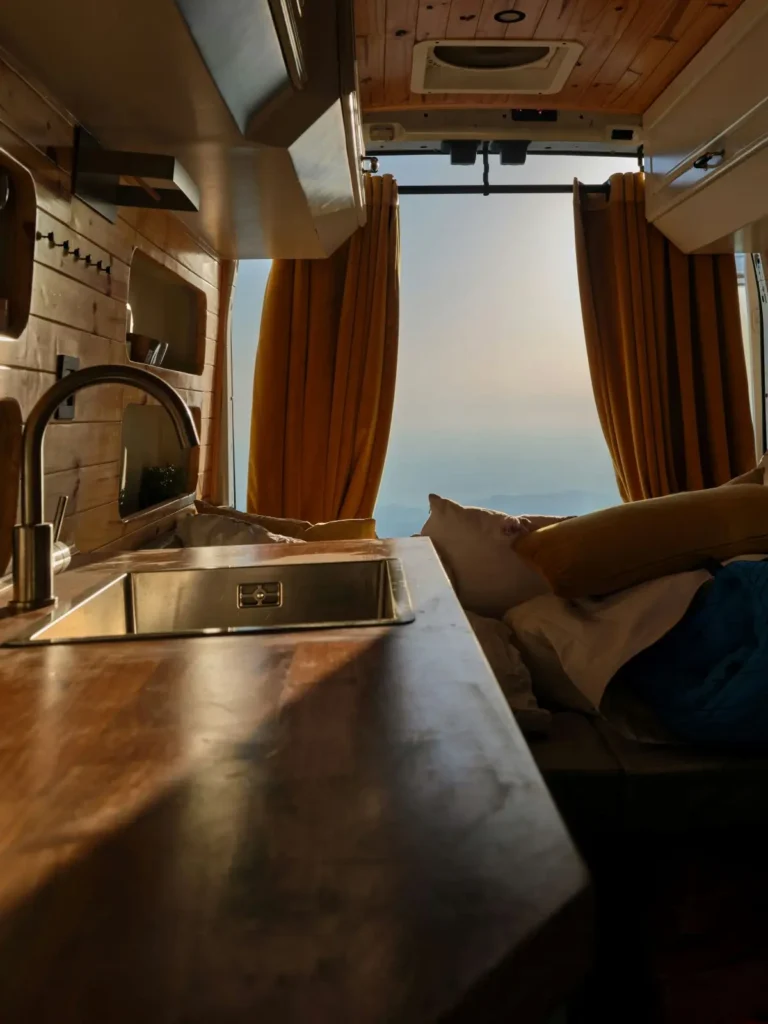
Plumbing is fairly straightforward to install (though this does depend on the system you choose!) so you should be able to do it yourself.
The system can be as simple as adding a freshwater tank, a grey water tank for wastewater, and a small tub to your van. This will provide you with everything you need to do the dishes, wash your face, brush your teeth, and perform other simple tasks.
Adding a water pump to this setup will take this to the next level as it allows water to flow from the freshwater tank through pipes to taps. You can choose between either a manual or an electric water pump.
Manual pumps are usually activated by hand or foot, whereas electric pumps work automatically whenever you use a tap or shower.
Make sure that before you invest in a system like this, you know approximately how much water you’ll need each day as fresh and grey water tanks come in different sizes. If you’re planning on installing a shower, you’ll probably want to triple or even quadruple your daily estimate.
10. Add lights for a cosy feel
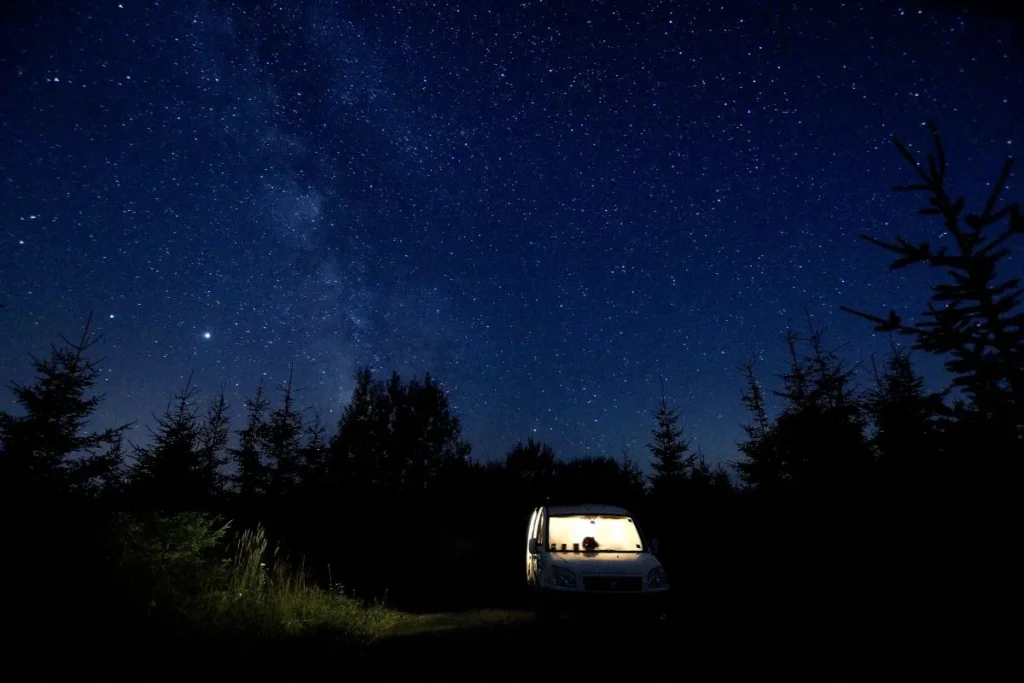
Lights for the interior will add that cosy touch you need to make your van feel like home. Choose LED strips and bulbs as they draw the least amount of power. You can install strip lights under high cupboards, shelves and even under your bed or seating area for a warm glow without the intensity that overhead lights often bring.
You could also add fairy lights or table lamps (wired or wireless) to your bedroom and seating area(s) for softer lighting in the evening.
11. Add a bed and seating

If your van is large enough, having a permanent area to sleep is a great option as you won’t have to make up your bed every evening. This does, however, take up a lot of space, meaning you won’t have as much during the day.
If you’ll be spending most of the day working outside your van and only plan on sleeping in the vehicle, this option should be fine, but if not you might want to consider other options.
For instance, you could put a sofa bed in the back so you can use your van comfortably during the day and sleep soundly at night. A sliding sofa bed is a good option as it can be changed from sofa to bed and vice versa in minutes.
If you want to add car seats to the back for enhanced passenger safety while driving, a rock-and-roll bed could be a good option. This is like a sofa bed, except instead of a sofa, the bed folds into car seats complete with seatbelts.
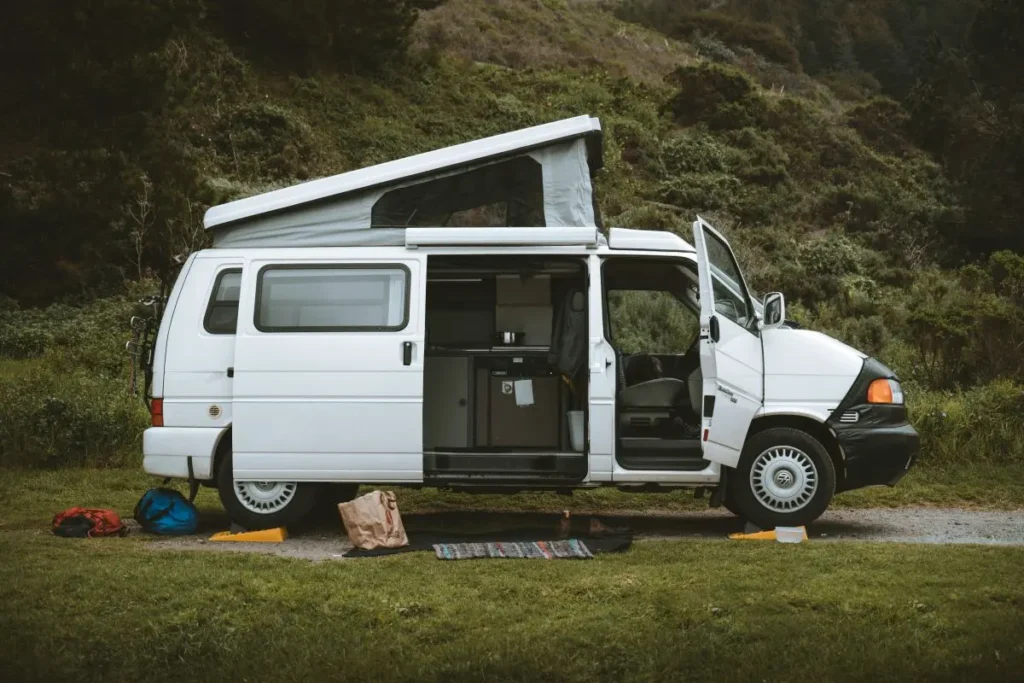
If you’re keen on separating your living area from your sleeping area, adding a pop-top to the roof could be the best option. These generally need to be professionally fitted as fitting one yourself is quite a complicated process.
A pop-top roof is essentially an extension of your van which can be raised or lowered depending on if you need to use the extra space. So for instance, when you’re travelling, you could lower the pop top and only raise it when you’re going to sleep.
This is great for tall travellers as it can provide you with extra clearance, making it a very versatile feature.
Note that if you do decide to get it professionally fitted, this type of roof can add to your budget significantly.
12. Think about storage space
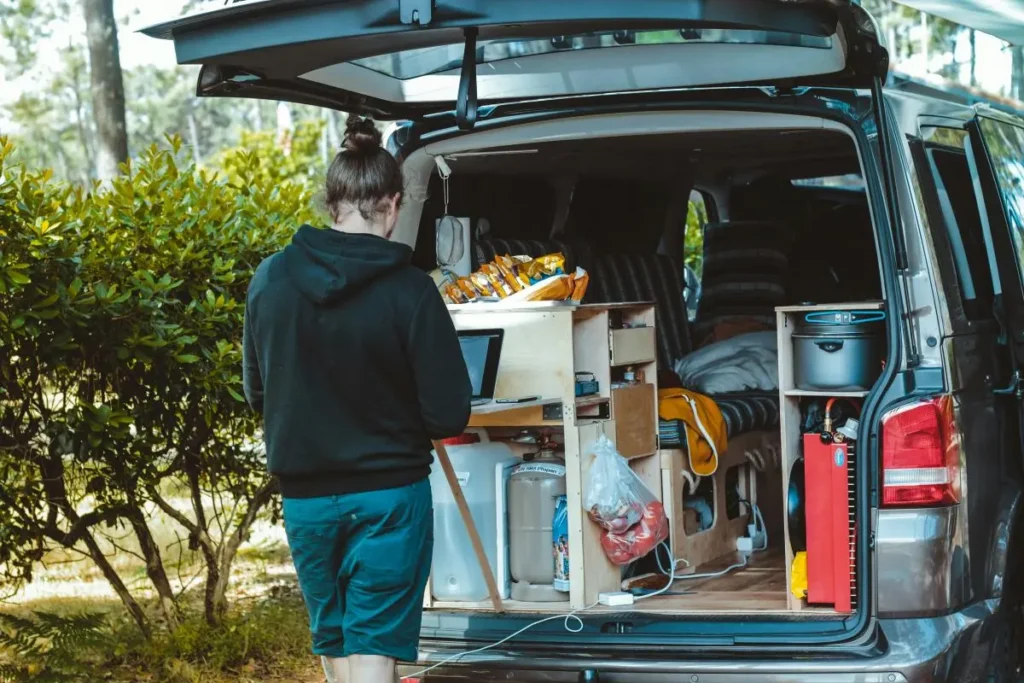
If you’ve ever lived in a small flat, you know that storage is something you always need more of. The same goes for staying in a van. Thankfully with careful planning, your frustrations can be completely avoided.
For a start, overhead storage makes good use of vertical space in the van, so be sure to add cabinets if you feel like you’ll need the space. Just make sure to add a locking mechanism to the cupboard doors so they remain closed. This will prevent your belongings from flying out while driving.
Multifunctional furniture is a simple yet effective solution to any storage issues you have. For example, you could choose bench seats that double as storage compartments for extra space.
Wall space and the backs of chairs can also help keep your odds and ends organised. Any shoes you need quick access to could go in the storage compartment usually found behind the front seats. Likewise, hats, fishing equipment and other items could be attached to hooks on the walls and secured using bungee cords if needed.
If you haven’t added a pop-top to the vehicle, you could also install a ceiling net, which can make use of more vertical space.
13. Reclassify your vehicle
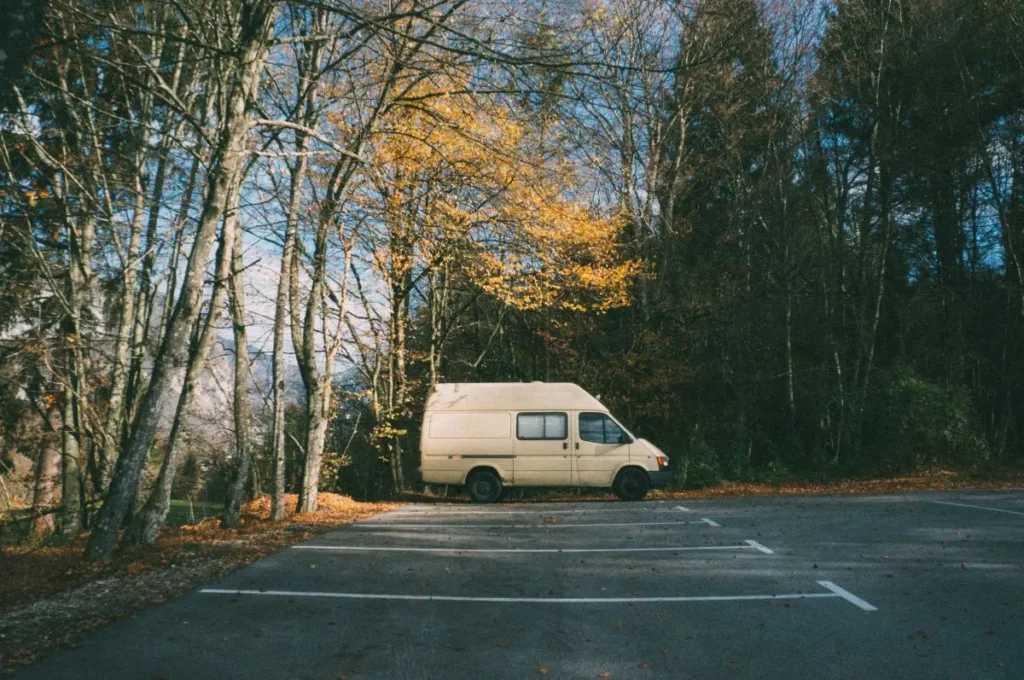
Once you’ve finished your camper conversion, it’s important that you reclassify it with the DVLA. The requirements for this are fairly strict, so make sure to check whether your vehicle will be eligible beforehand.
Just how much could I save?
Whilst the initial outlay for a van conversion is quite costly, even budget hotels can set you back around £100 a night in the UK. Given you’ll also have to spend money on food and transport, this can quickly add up to around £150 to £175 a day – and that’s if you’re being frugal.
If you’re travelling to a major city in the UK, you’ll likely face even higher costs; business trips in London cost almost £500 a day on average, while Edinburgh, Birmingham and Manchester have an average daily spend of over £300, and, if you’re travelling to Belfast or Cardiff, you could spend over £250 on average.

Add to this public transport costs for getting to the town or city you’re travelling to, as well as going from your hotel to the place you’re doing business, and this could add up quickly. And that’s not even counting cups of tea or coffee, and snacks while you’re on the go, plus bottles of water to keep you hydrated while you work.
Compare this to travelling by van, where you can make your own meals and have access to drinking water, tea and coffee, plus your own means of transportation. This could save thousands.
Your average daily spend could be as low as £25 for fuel, home-cooked meals, a thermos of coffee, parking, and campsite access, with campsites likely being your biggest expense.
This means that if you were to go away for seven nights, you would only spend £175 compared to £1,050 for seven nights in a hotel (taking the lowest figure of £150 a day). That’s a saving of £875 across the seven days.
While the initial outlay for a van plus a van conversion is fairly high, with just a few business trips you could make enough to cover the costs spent on your vehicle, making it a much more cost-effective solution in the long run.
Get van and campervan insurance for your new vehicle
Whether you own a van, a self-built campervan, or you’re starting to convert your vehicle, we can help you get cover that’s tailored to your needs.
Call us for a quote on 0800 369 8590 or book a callback at a time that suits you.


