How To Clean A Bike Chain
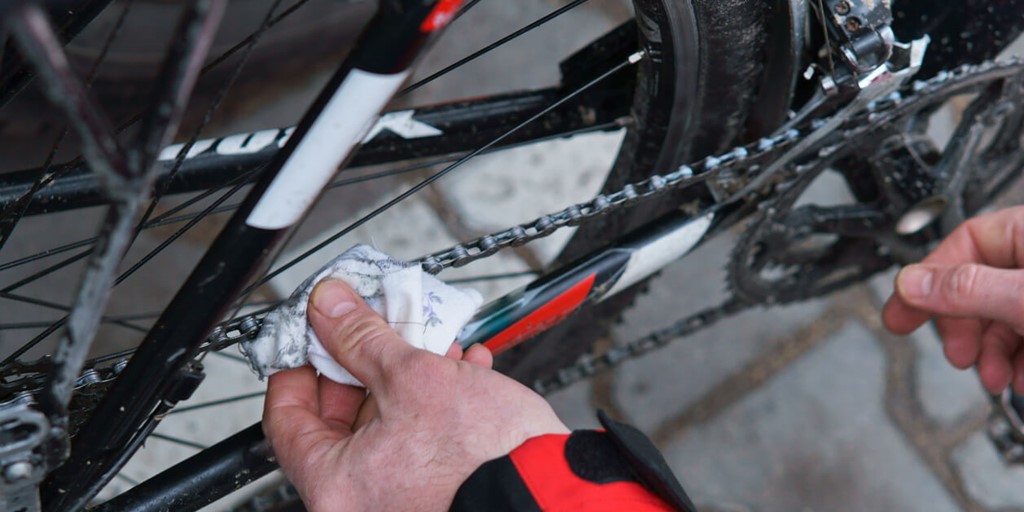
Yes – a clean bike chain is easy on the eye, but some cyclists (especially beginners) often forget that keeping a clean bike chain also helps your whole bike perform better and run more smoothly for longer.
Regularly cleaning your bike chain will also keep grease stains to a minimum – so while it can be a messy task, it’s worth your time and effort for many reasons.
But if you’re new to cycling or have just bought a new bike, cleaning its chain can be confusing if you’re doing it for the first time.
Read on for our simple, six-step guide on how to clean a bike chain.
Table of contents
1. Pick your cleaning product and scrubber
2. Start with the cassette
3. Clean the chainring
4. Clean the chain itself
5. Rinse off and leave to dry
6. Reapply chain lube
1. Pick your cleaning product and scrubber
Before you get into the nitty-gritty of cleaning your bike chain, the first step is to choose your cleaning product.
Bike chains can be cleaned using normal soap, such as washing up liquid, or your local bike shop will sell bike-specific degreaser.
Don’t worry too much about splashing out on fancy products because shop-bought washing up liquid works fine most of the time.
The same goes for your scrubber. While there are specially-made bike brushes on the market, something as simple as an old toothbrush will do the job.
Old washing up brushes are good for cleaning chains, too – but make sure whatever you use has long enough bristles.
Related: Best bike cleaner 2021 – 6 bike cleaners rated by our experts
2. Start with the cassette
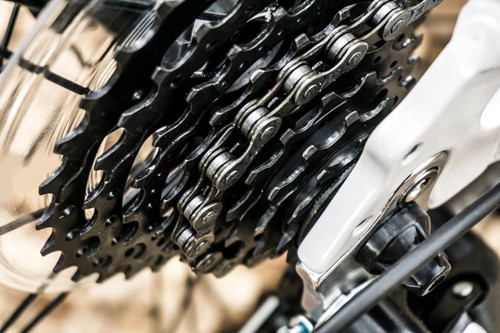
If you didn’t already know, your bike’s cassette is the cluster of cogs found attached to the back tyre.
To clean the cassette, shift your gears appropriately so that the chain sits on one end. Then, apply your cleaning product or degreaser to your scrubber, and get to work on the cogs – except for the one holding the chain.
Once you’re happy, move your chain down to the other end of the cassette and scrub the remaining cogs until these are clean.
Related: How To Clean And Remove Bike Cassettes Easily
3. Clean the chainring
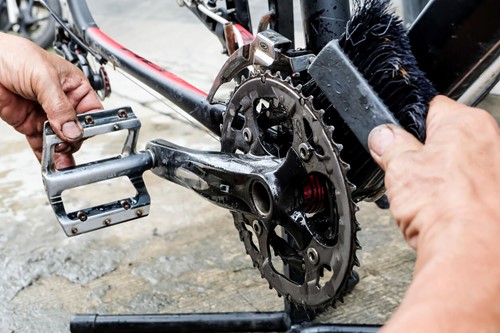
Now that the cassette is clean, it’s time to focus on your bike’s chainring.
To do this, you might find it easier to completely drop your chain off the ring to give you a better view.
As with step two, apply your cleaning product or degreaser to the scrubber and scrub around the perimeter of the ring until you’re satisfied.
It’s as simple as that.
Related: 3 Easy Ways To Clean Chainrings
4. Clean the chain itself
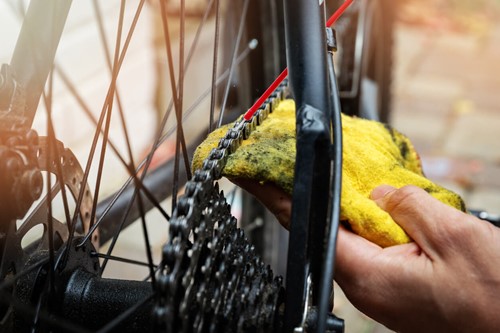
Next, you can move on to cleaning the chain itself.
If your bike has more than one chainring, you can put the chain onto the largest one for this step.
Apply a generous amount of your cleaning product or degreaser onto the scrubber and begin to scrub, using the chainring to bear down on.
With your bike upended, you can use one hand on the foot pedals to turn the wheels and thus the chain. Using your other hand, hold the brush still on the surface of the chain, allowing it to run through the bristles continuously.
For an even deeper clean, you can also fill a container with cleaning product, detach the chain completely from your bike, and soak it in the container. Then, give the container a shake and let it sit for up to 20 minutes before taking the chain back out and reattaching it to the chainring.
Related: Chain Cleaning: A Complete Guide From Lazy To Obsessive
5. Rinse off and leave to dry
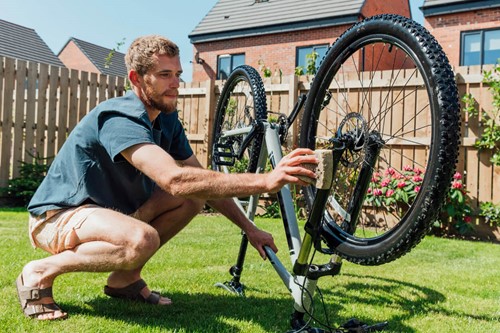
Once everything has been thoroughly scrubbed, give the whole section of your bike a gentle rise with clean water, with the emphasis on gentle.
Avoid using high-pressure hoses or jet washers, as these can blast water into unwanted areas. You only need to rinse the areas you’ve just cleaned – if you’re not careful, unnecessary water elsewhere can lead to rusting.
After rinsing, you should let your chain dry off as much as possible before continuing. Storing your bike while wet is another common cause of rusting.
Related: How To Wash A Bicycle: 10 Bike Washing Don’ts and Do’s
6. Reapply chain lube
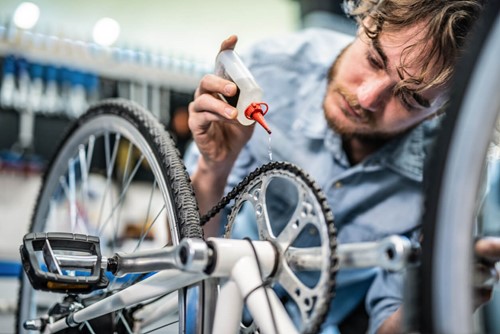
Now the chain is dry, it’s time for the final step – and it’s all about the lubricant.
Slowly back-pedal while applying a gentle, consistent stream of lube over the chain. You can do this either directly from the lube bottle or can or via your scrubber.
For the best results, you should apply the lube to the top of the lower part of the chain while it turns, making sure you cover every link.
Ideally, you want the lube to get in between the rollers and plates rather than accumulating an excess on the chain’s outer edge.
Leave the lube to soak in for a few minutes, and then grab your cloth the remove the excess. You might be inclined to think that the more lube, the better – but excess lube can actually attract dirt onto your chain.
Related: 15 Best Bicycle Chain Lubes
How often you clean your bike chain depends on how often you ride and what terrain you tend to ride on. However, aim for a clean at least once a month as a rule of thumb.
Now you know how to clean a bike chain, you’re ready to tackle the trails – but you also need to make sure you have the right bike insurance.
Specialist bike insurance protects you from injury or claims that might be made against you and your bike in the event of theft, damages, or if it’s stolen (providing you report it to the police within 24 hours).
At Cycleplan, we provide equipment cover for a range of bikes and accessories up to the total value of £30,000. We also offer personal accident cover and public liability, among other additional policies.
Click here to find out for yourself what our specialist cycling insurance covers, how we can help you, and get an instant online quote today.
Related
How To Fix A Bike Puncture In 9 Simple Steps
The 13 Best Mountain Bikes Under £500 In 2021
How To Get Better At Road Cycling In 8 Simple Steps


