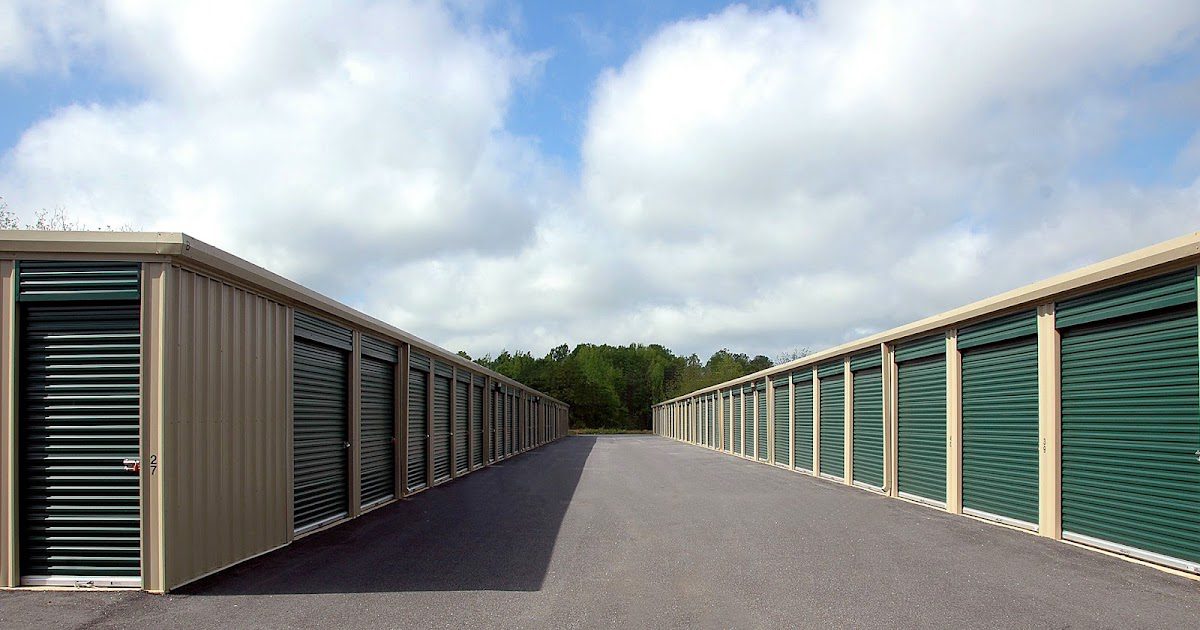
How to Best Utilize Your Storage Unit
Use Our Guide to
Learn How to Create Hassle-Free Access to Your Belongings!
Whether you’re short
on space at home or in between moves, storage units can be the perfect
solution for your belongings. It’s likely that at some point you will need to
access your storage unit. The last thing you’re going to want to do is empty
the space just to find the one item you’re looking for. Thankfully, with just a
little bit of planning and organization, you can not only maximize the space
but also make it incredibly easy to find
your belongings. Continue reading to learn more!
The Prep Work
First, you’re going to want to find out the dimensions of your storage unit. This will
allow you to better plan for the type of furniture and what size boxes are able
to fit in the space. You will also want to see if your storage unit is inside a
facility or outdoors. If it’s outdoors, you might
consider checking to see if the unit is climate-controlled – as this will
affect how much weather protection you will need. Once you have this
information, you can use the following tips to begin prepping.
1. Choose A
Uniform Box Size: When you choose boxes or totes that are a uniform size, it makes
stacking and accessibility a breeze. Boxes that are different sizes are more
likely to tumble over and can be more difficult to access when stacked. Pro- tip: Be sure to purchase boxes
that are either reinforced or are already very sturdy so that items inside do
not become crushed when stacked.
2. Group Similar Items
Together: It’s important to group similar items together. Make sure to have
separate containers for things like winter or summer clothing,
camping supplies, holiday items, toys,
tools, documents, etc.
3. Label Your
Boxes: Every box that enters the
storage unit should be clearly labeled on all sides with both a number and
general description. For example, your first box may be filled with sewing
equipment, needles, thread, etc., and therefore can be labeled as,
“Box 1: Sewing.” Be sure to write down
the specific contents of each box, you will need this list for the next step.
4. Create your
Master Contents List: Whether you’re going to be accessing your storage
unit frequently or not, you’ll want to know where exactly your items are in the
unit so that you can locate them quickly. You can compile your individual box
lists into one master list. You may also consider including an itemized
list of contents inside each specific box in case you were to lose your
master.
5. Plan an
Organized Layout: Just as you grouped like-items together inside the boxes, you will
want to do the same with the boxes themselves. Be sure to include space for shelving and walking
paths in your layout. Pro-tip: If
you are not planning to use shelving units, you might consider placing wooden
or plastic pallets underneath any boxes or furniture to prevent weather damage.
It can also prevent
pests such as mice, silverfish, ants, and moths from making their home
underneath those boxes.
Packing the Unit
Now that you’ve completed all the prep work, you are ready to tackle
your unit itself!
1. Cleaning Out
Your Unit: Be sure to do a quick sweep of your unit to remove any dust, dirt, or
pests. You can help to avoid a pest
infestation by adding moisture absorbers and mothballs in key areas.
2. Organization: Before moving in
any
boxes or furniture, you’ll want to lay down your pallets and
install your shelving units. Be sure to follow the plan you previously created
and to leave yourself walking
paths.
3. Store Smart: Make sure to
disassemble any bulky furniture such as bed frames or tables to save space.
Remember that mirrors and picture frames should always be standing on end and
leaning against a
wall, never flat. Pro-tip: Put
an “X” with painter’s tape across any mirrors or picture frames in your unit.
Should they accidentally break, it will help to avoid total shatter and provide
a cleaner break. All electrical
appliances should be completely dry with doors left slightly ajar. Also, avoid
storing items that have not been properly dried out or that may invite mildew
(think refrigerators or coolers).
4. Create Even
More Space: You’ve paid for the space, so it’s important to organize it in a way
that maximizes your dollar without making it so crowded that it undoes your prep
work. Depending on the rules and regulations of your space, you may be
able to install peg boards, floating shelves, or even hang items such as bikes
from the ceiling. Be sure to check with your storage unit
provider before making any changes to the space.
5. Post Your
Layout: Posting a copy of your layout on the interior wall of your storage
unit can save you valuable time. Your
master list can tell you which boxes your items are in but posting your layout
will allow you to see where the boxes are in the unit itself. If you don’t feel
comfortable leaving a list of where your items are, you can also take a photo
of it with your smartphone so you have it on the go.
Now that your belongings are safely stored away, it’s time to think
about insurance. It’s important
to know that coverage for your storage unit may be included in your current
homeowner or renter’s
insurance policy, but it’s best to discuss with your agent to be sure. Check
out the link below to learn more about home and renters
insurance policies by contacting one of our local
agents!