7 Steps for De-Winterizing Your Boat Early to Make for an Easier Spring
Boat owners follow the seasons like clockwork. The boat emerges in spring, runs wild through summer, and hibernates when the weather turns cold.
It takes a lot of work to prepare your boat, but the effort is worth it!
Every boat has different equipment testing procedures. Use these steps as a general guide, then check your owner’s manual for more detailed instructions.
De-Winterizing Your Boat for Springtime Fun
Step 1: Check the Battery
You can choose from a few different kinds of boat batteries. In this example, we’ll refer to the most common kind of boat battery, a flooded battery.
Before you take your boat out for the season, refill the battery with fresh, distilled water. You’re in good shape if the battery holds a strong charge under a tester.
Next, remove the wires from the charge posts and scrub away dirt and rust. A small wire brush should do the trick.
Finally, coat the posts in lithium grease to protect them from further erosion.
Step 2: Test the Electronics
Test all the switches, knobs, and electrical equipment on the boat. All electrical systems are connected, so flip the switches on the helm and cabin. Now that the battery is running, switch it off and see if the automatic bilge pump float switch works.
Step 3: Change the Engine Oil
If you didn’t change the oil before storing the boat for the winter, now’s the time to do it. Don’t forget about the outdrive oil, either. Fill or change those as needed.
When you de-winterize your boat, you should also check your engine for:
Power steering fluid levels Coolant levels Leaks below the engine area Visible cracks or wear in fuel lines
Step 4: Fill the Cooling System
You can fill the cooling system with equal parts water and antifreeze if you flushed it out before you stored your boat. If you left the water/antifreeze mixture in over the winter, drain it before you fill it.
Check the hoses for cracks or wear, and look for any visible leakage.
Step 5: Inspect the Gas Tank and Fuel Lines
Your gas tank and fuel lines could develop rust during the winter. Hopefully, you filled the tank before storing it, and no moisture had a chance to settle.
However, fuel lines tend to crack when exposed to cold temperatures. Inspect and replace them as necessary.
Step 6: Put Your Safety Gear in Order
This step is potentially life-saving. Make sure your safety equipment is prepared, not expired, and not visibly damaged.
Follow these safety gear steps:
Make sure you have enough flotation devices.Read expiration dates for fire extinguishers. Test all the lights in the cabin and on deck.Check the signaling equipment, such as horns, flares, and whistles.
Step 7: Check the Belts for Wear
During the boating off-season, the belts connecting the engines and motors can quickly wear down. Use your hands to check these belts for tears in the fibers.
Push down on the belts slightly to see if there is too much slack. If you notice any black soot around the machinery, you may want to switch out your belts for new ones.
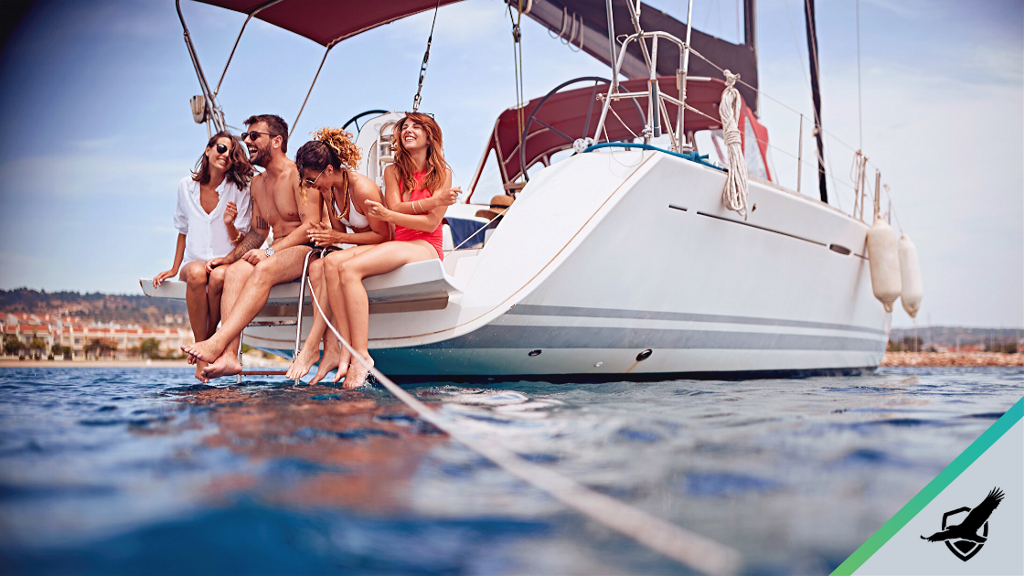
Bonus Step: Hit the Water!
Everything checks out, and you finally head out to the water.
When you get back on shore, check out our helpful boat guide:
You keep your boat in good condition, so you should cover it for accidents. We offer boat insurance at competitive rates!
Contact your local, licensed Pekin Insurance agent to put boat coverage in place today.