9 best injury prevention exercises to improve performance

What if we told you that you could
see your performance skyrocket by making injury prevention exercises your
priority?
It’s easy to get caught up in the
buzz of making progress. Wanting to get there faster by working out more and
lifting heavier is understandable, especially when you’re already seeing great
results. But you could risk losing all of this by pushing yourself too hard.
Here you’ll find the best injury prevention exercises to boost your mobility, stability, and overall performance, so you can incorporate them into your exercise programme.
#1 – Goblet squat
Equipment needed: one light dumbbell or
kettlebell
Starting position:
Stand with your feet shoulder-width apartGrip the weight firmly with both handsHold it against your chest and ensure your palms are facing each otherEnsure your core is engaged, and your weight is shifted onto your heels
Execution:
Bring your glutes towards the floor by hinging at your hipsAs you descend, keep your spine neutral and your knees behind your toes Your elbows should naturally come down between your knees Pause once you reach a parallel position, holding the tension Drive your weight through your heels to bring your body back into the starting position Keep your core and glutes engaged as you ascend
Why it works:
Goblet squats are a safer alternative
to traditional squats, thanks to the position of their load.
Whilst front or back squats are
hailed for preventing chronic back pain, and they come with a greater risk of
injury due to the weight being held in an unstable position.
Goblet squats centre the load and
make it easier for the body to lift it in a controlled manner, making them one
of the most favoured injury prevention exercises for those wanting to avoid a
lower back injury.
They also challenge the core by shifting the load to the front of your body, making it harder to stabilise.
#2 – Bulgarian split squat
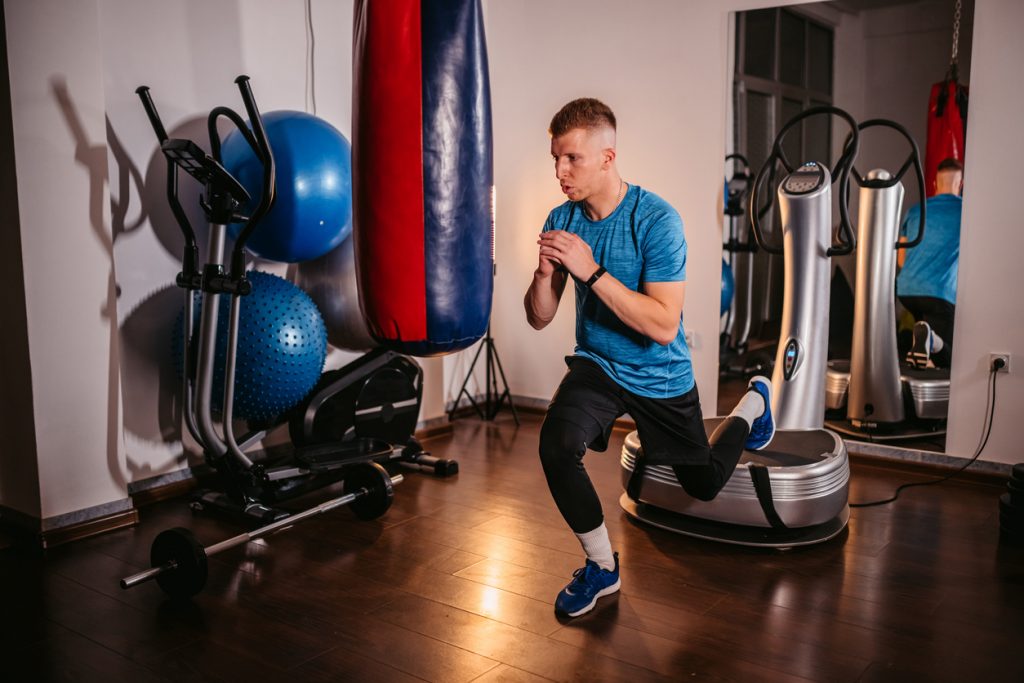
Equipment needed: one weight bench or step, around
knee-height
Starting position:
Stand tall with your shoulders back, around one metre in front of the bench Bring your right leg back and place your foot on the bench (flat or on its toes—your choice) Place your hands on your hips for stability Engage your core
Execution:
Keeping your back straight, lower your right knee towards the floorAs you descend, ensure your left knee stays behind your toes (front foot)Pause just before your right knee touches the floor, holding the tensionDrive your weight through your left heel to bring your body back into the starting positionOnce your set is finished, repeat with your left leg
Why it works:
The Bulgarian split squat is essentially a single-leg squat, but with the added support of the weight bench for balance—think of it as the safer alternative to the pistol squat.
It’s one of the most popular injury
prevention exercises for athletes, thanks to its ability to train the body
unilaterally (one side at a time). This works to correct strength imbalances
that can cause injuries if left untrained.
Since the rear foot is balanced on
the bench during the movement, you can work the front leg across a larger range
of motion, building better mobility over time. It also targets your hip
stabilisers which are difficult to hit during bilateral movements.
Want to seriously boost your lower
body strength? Once you’re feeling confident, try this exercise with a dumbbell
in each hand.
Related: 7 best leg strengthening exercises for runners
#3 – Walking lunge
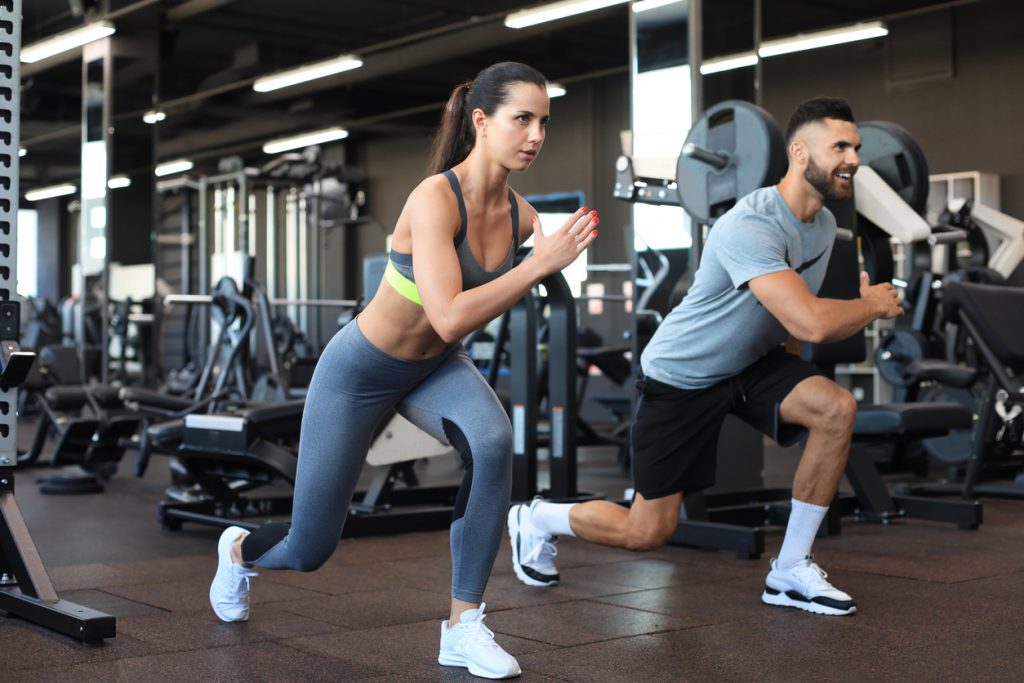
Equipment needed: none
Starting position:
Stand tall with your shoulders back and your hands on your hipsPosition your feet around hip-width apartEngage your core
Execution:
Keeping your back straight, step forward with your right leg until your left knee is almost touching the floor Pause for a second, holding the tension Driving your weight through your right heel, step up and forwards with your left leg, right into another forward lunge Repeat this movement, alternating legs for your desired amount of reps
Why it works:
This injury prevention exercise works
by developing your functional strength, the form of strength needed to succeed
in sports and everyday life. It relates to your joints and their ability to
carry your body through a full range of motion without difficulty.
Walking lunges challenge your
functional ability by hitting your hips, glutes, and core as they work to
stabilise your body.
They’re one of the most favoured injury prevention exercises for athletes, as functional strength is important on the sports field. Without it, your stability and mobility are restricted, and injuries occur when you go beyond your body’s limits.
#4 – Lateral lunge
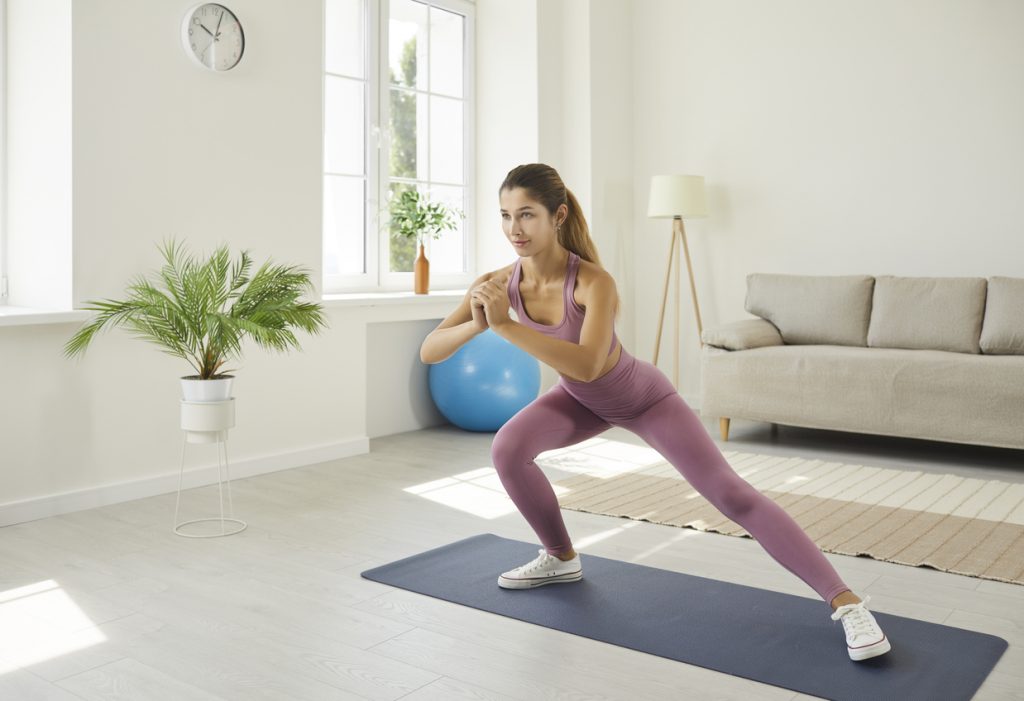
Equipment needed: none
Starting position:
Stand with your shoulders back and feet shoulder-width apartClasp your hands together in front of your chest, and have your elbows pointed to the floorEnsure your core is engaged
Execution:
Step out with your right foot as far as you’re comfortably able toDrop your glutes towards the floor, keeping your right knee behind your toes Stop when your right knee reaches a 90-degree angle, holding the tension Driving your weight through your right heel, spring back up into the starting position Repeat this movement, alternating legs for your desired amount of reps
Why it works:
Lateral lunges challenge your
functional stability from a different angle to forward lunges. They heavily
target your hamstrings and quads, like standard lunges, but work your inner
thigh muscles (adductors) and outer glutes to a greater extent.
They also boost balance and stability
in your knees and ankles and are among the most popular exercises for
preventing ACL injuries, which are common for athletes.
Related: The best stretches to improve your flexibility
#5 – Lateral raise
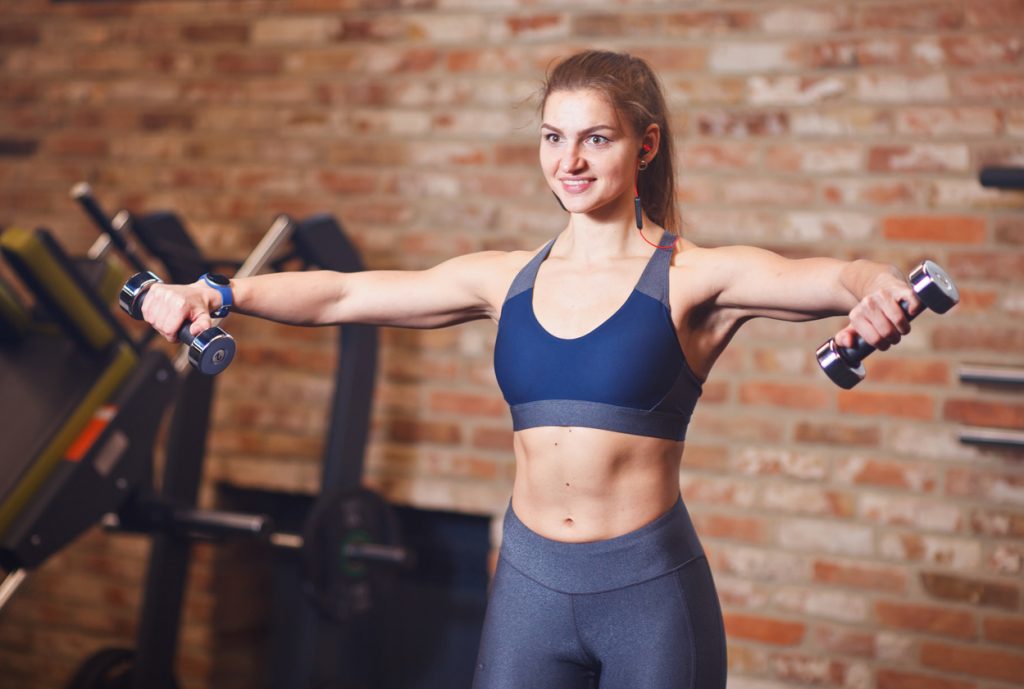
Equipment needed: light dumbbells or plates
Starting position:
Grip the dumbbells in an overhand gripStand tall with your shoulders back and feet hip-width apart Engage your core
Execution:
Slowly lift the dumbbells, focusing on your shoulders (not your wrists)Pause when they reach shoulder height, maintaining the tension and keeping your back straightCarefully lower them back into the starting position
Why it works:
It’s great to have upper-body focused injury prevention exercises in your arsenal, although most are compound exercises.
Lateral raises target the lateral
head of the deltoids (shoulder muscles) and engage the triceps to a lesser
extent.
Your shoulders are a great area to hit in isolation now and again to ensure they’re trained to withstand upper body pressure, especially when it comes to your rotator cuffs. This is one of the most dreaded upper-body injuries, so developing strength in the area is never a bad idea.
#6 – Bent-over rows
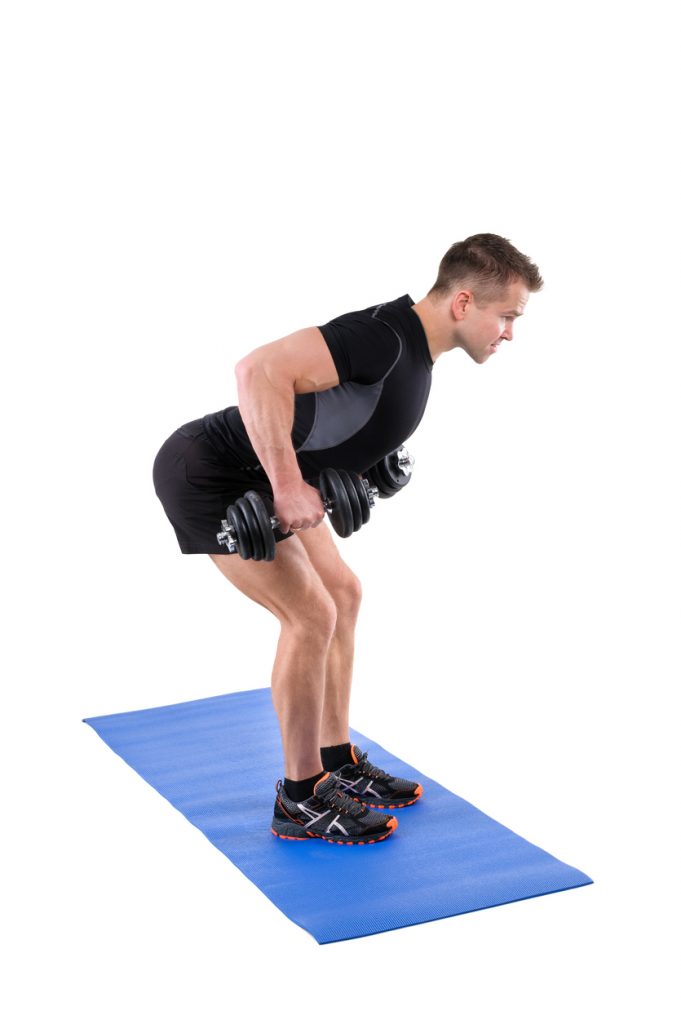
Equipment needed: light dumbbells
Starting position:
Stand with your feet shoulder-width apart Carefully lift the dumbbells using a neutral gripHinge at your hips, so your torso is at a 90-degree angle in relation to the floor Ensure your back is straight Hold the dumbbells in line with your shoulders, with a slight bend in your elbows
Execution:
Focusing on your lats, pull the dumbbells straight up until they’re in line with your ribcage (your elbows should lightly brush your sides as you drive them up)Pause at the top of the movement, keeping your back straight and holding the tension Carefully lower the dumbbells back into the starting position
Why it works:
As well as building overall upper
body strength, the bent-over row is a crucial exercise for preventing shoulder
injuries.
It hits your rear delts, which are
often overlooked by other exercises, and eradicates front to back muscle
imbalances that can occur as a result.
Aside from hitting the rear delts, bent over rows can dramatically improve strength in the upper and lower back over time. The lower back works hard to stabilise the movement, while the upper back takes a certain amount of strain from the weight of the dumbbells.
#7 – Single-leg deadlift
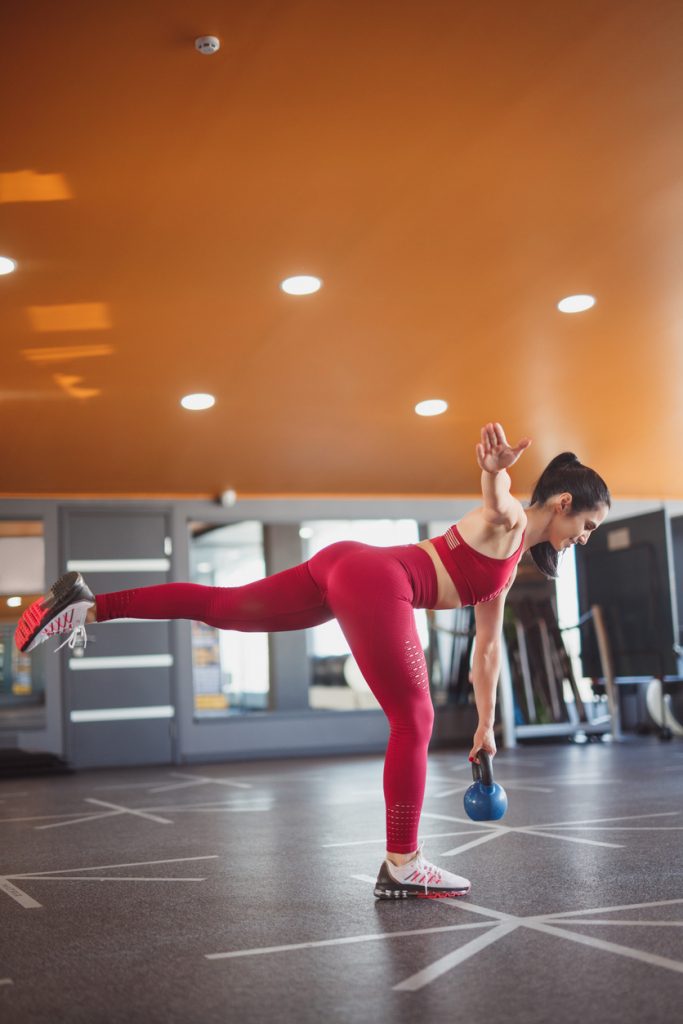
Equipment needed: one light dumbbell or kettlebell
Starting position:
Stand with your feet hip-width apart Grip your weight with your right hand in an overhand grip, and carefully lift it into position Hold your left hand out to the side for balance Ensure your shoulders are back, and your back is straight Brace your core
Execution:
Shift your weight onto your left legBalancing on your left leg and keeping your back straight, lower your torso and the weight down whilst lifting your right leg out behind you Pause when the weight is in line with your left shin, holding the tension (you should feel it in your left hamstring)Deadlift the dumbbell by driving your weight through your left heelIn one controlled motion, return to the starting position
Why it works:
Single-leg deadlifts are one of the
most effective injury prevention exercises for athletes looking to eradicate
strength imbalances in their lower body. They’re also great for restoring
strength post-injury.
Like the Bulgarian split squat, this
exercise trains the lower body unilaterally to correct imbalances and challenge
specific muscle groups.
Single-leg deadlifts require the
hamstrings, quads, feet, ankles, hips, and lower back to stabilise the body and
are much more effective for training balance than standard deadlifts. This will
help keep you on your feet during competitive sports and prevent injuries to
these areas.
Related: The 10 best kettlebells on the market
#8 – Single-leg glute bridge
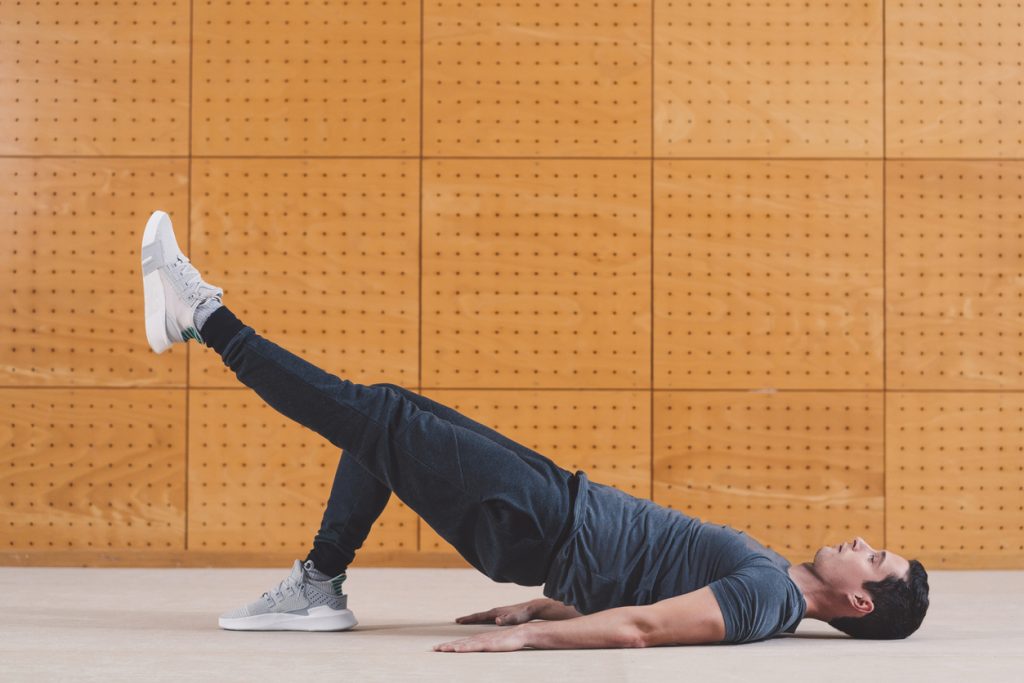
Equipment needed: one exercise mat
Starting position:
Lie face-up on the exercise matPosition your arms by your sides, and palms face downPull your feet towards your glutes, and stop when your knees reach a 45-degree angleDrop one of your knees until that leg is fully extended (the right leg in this example), and lift it into the air Keep your left foot flat on the ground Brace your core, and ensure your spine is neutral
Execution:
Leading with your pelvis and driving through your heel, engage your glutes as your hinge your hips upwards Keep your extended leg and your back straight as you do soPause at the top of the movement, holding the tension in your glutes and being careful not to overextend your backCarefully lower your pelvis back into the starting position
Why it works:
This exercise is also known as the
hip thruster, which is a clue to what it trains.
It activates the posterior chain
(lower back, hamstrings, glutes, and calf muscles), and since this area is
responsible for explosive movements such as jumping and sprinting,
strengthening is important.
The single-leg glute bridge is one of
the most effective injury prevention exercises for athletes as it targets this
area and trains it unilaterally.
It’s a difficult exercise to master
but a brilliant one to practice if you want a strong posterior chain and hip
and knee joints.
Related: How to create a meal plan on a budget
#9 – Turkish get-up
Equipment needed: one exercise mat and one light kettlebell
Starting position:
Lie with your back flat to the mat, with the kettlebell positioned easily within reach Loop your right hand through the handle, and grip it in an overhand grip Carefully press the kettlebell into an overhead position so your arm is fully extended Place your left arm firmly against the mat, as this will assist you in getting up Brace your core
Execution:
Keeping your back straight, push yourself up with your left armBend your right knee as you sit up, keeping your left leg extendedWhist balanced on your left hand and right foot, move your left leg back and press your left knee into the matBalancing on your right foot, carefully push upwards from a kneeling position until you’re standing straight, and shift your right foot in line with your leftPause for a moment, keeping your core engagedReverse the movement by kneeling on your left knee, your right knee positioned at a 90-degree angleLean back slightly to balance on your left hand, and swing your left leg back out in front of your bodyBring your glutes to the mat, and bend your left elbow to lower yourself back into the starting position
Why it works:
Proven to be one of the most effective exercises for injury prevention and performance enhancement, the Turkish get-up makes a great addition to any training programme.
It boosts the overall strength and
mobility of the shoulders, core, and hips and develops the stabilisers in both
the upper and lower body. It’s rare to see this kind of potential in one
exercise.
The Turkish get-up uses multiple planes of motion, setting it apart from most strength training exercises which typically use a maximum of two. This makes it one of the most effective exercises for developing functional strength, crucial for injury prevention.
Repetitions and sets
Since building strength is the
primary goal of training to prevent injury, the number of repetitions and sets
you do should reflect this.
If you’re training with a light
weight or your body weight, we’d suggest 8-12 reps for 3-5 sets.
We’d suggest 1-8 reps for 3
sets if you’re using a heavier weight.
Regarding how often you should train, 3-5 times per week is a good goal to aim for, with recovery days in between workouts to allow your muscle fibres to heal and grow back stronger.
Specialist personal sports cover from Insure4Sport
At Insure4Sport, our specialist personal sports insurance includes Personal Accident and Loss of Earnings cover to help with unexpected costs if you do suffer an injury.
This includes free multi-sports cover for over 200 sports, as long as they fall within the same risk group or a lower risk group, so you won’t struggle to find the perfect policy for your needs.
Click the button below to get an instant online quote and take advantage of our 25% introductory discount!


